Whether you skate or longboard, cleaning and lubricating your bearings follows the exact same process. With the help of isopropyl alcohol, bearing lubricant, and a 1/2″ socket, you get any dirt and grime out of your bearings with ease. If you’ve noticed your wheels not holding speed for as long as they used to, doing a deep clean will make a world of a difference. Let’s break down how to do it.
To clean your skateboard bearings, follow these steps:
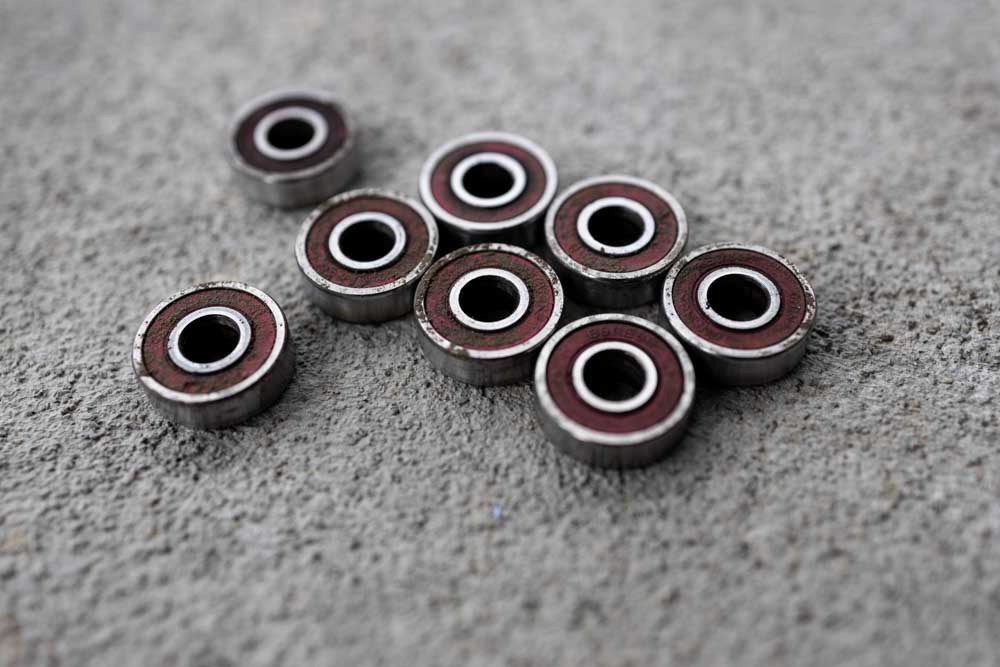
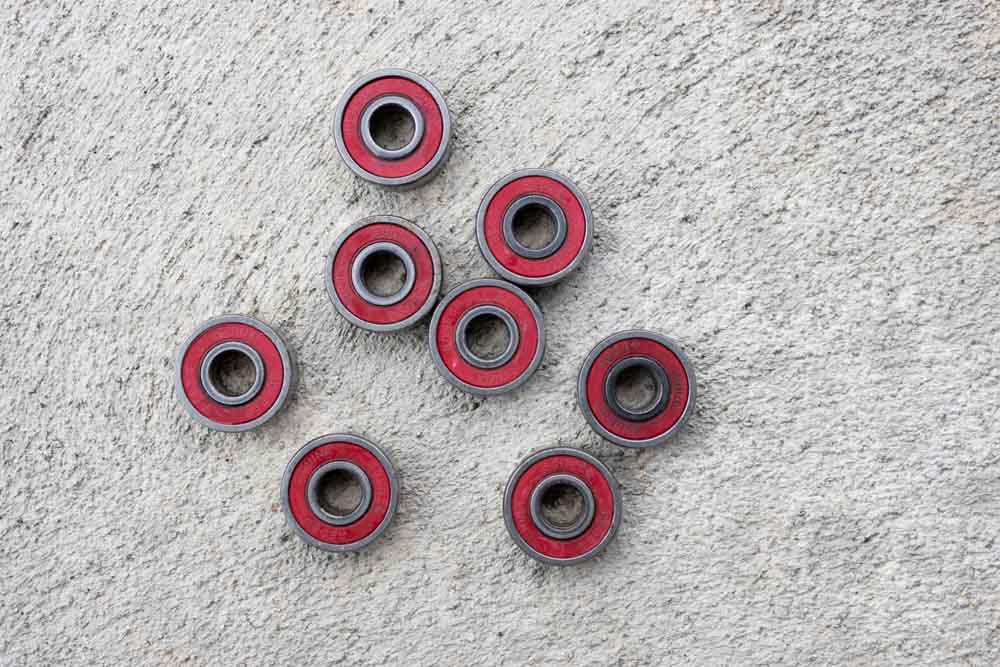
- Remove all eight bearings from your wheels.
- Use a thumbtack or blade to lift the shields off your bearings.
- Pour isopropyl alcohol into a small container and place your bearings inside.
- Swish your bearings around in the solution and let them sit for a couple minutes.
- Remove the bearings from the solution and place them on a paper towel to dry.
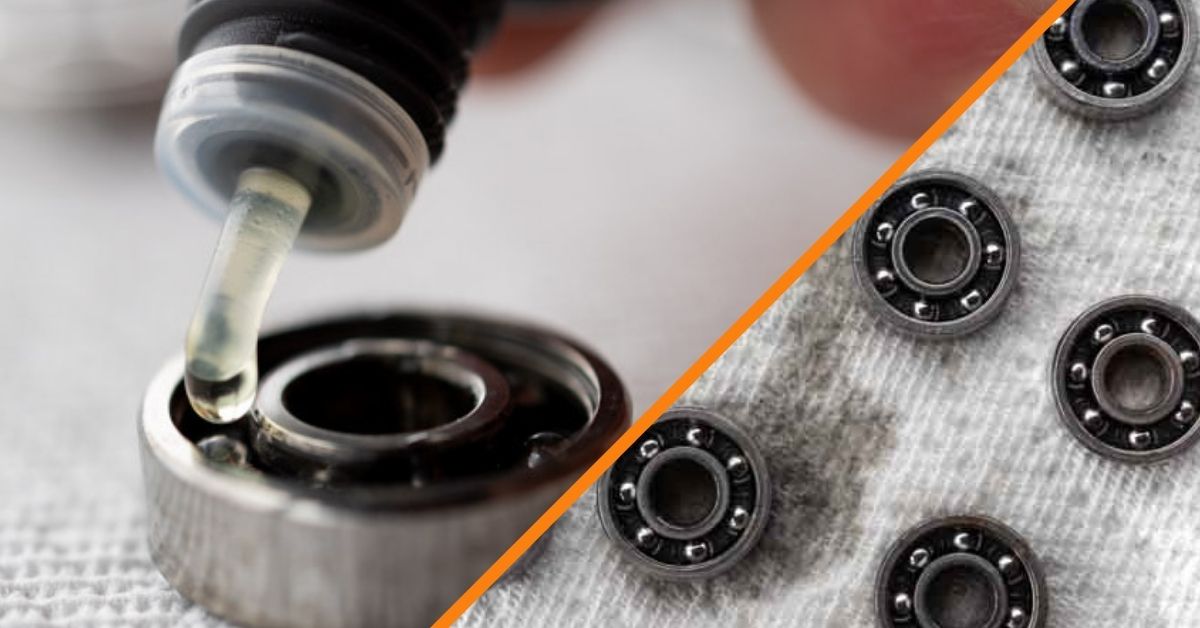
- Once the bearings are dry, place 2-3 drops of bearing lubricant into the bearings.
- Place the shields back onto your bearings by pressing them ino place.
- Install your bearings back onto your wheels.
- Mount your wheels.
- Start skating your clean bearings!
Now if you aren’t sure how to remove or install your bearings, don’t worry, I’ll break down exactly how to do that more in-depth below. I’ll also share some added tips to ensure you get the cleanest and smoothest rolling bearing possible after this deep clean!
Let’s get started.
How To Clean Skateboard Bearings With Household Items
Without the need for a fancy cleaning kit, you can get your bearings rolling smooth and be dirt-free with your standard isopropyl alcohol. This solvent does a great job of releasing dirt and grease from your bearing, without leaving any residue behind.
Now before you get started, make sure to have the following tools with you to clean your bearings:
- A skate tool or 1/2″ wrench
- A solvent cleaner such as Isopropyl rubbing alcohol or Acetone.
- A small container, preferably plastic
- A thumbtack or blade
- Bearing lubricant such as Bones Speed Cream
With everything together, this process should only take 15-20 minutes but could be longer if this is your first time doing it.
Step 1: Remove Your Wheels
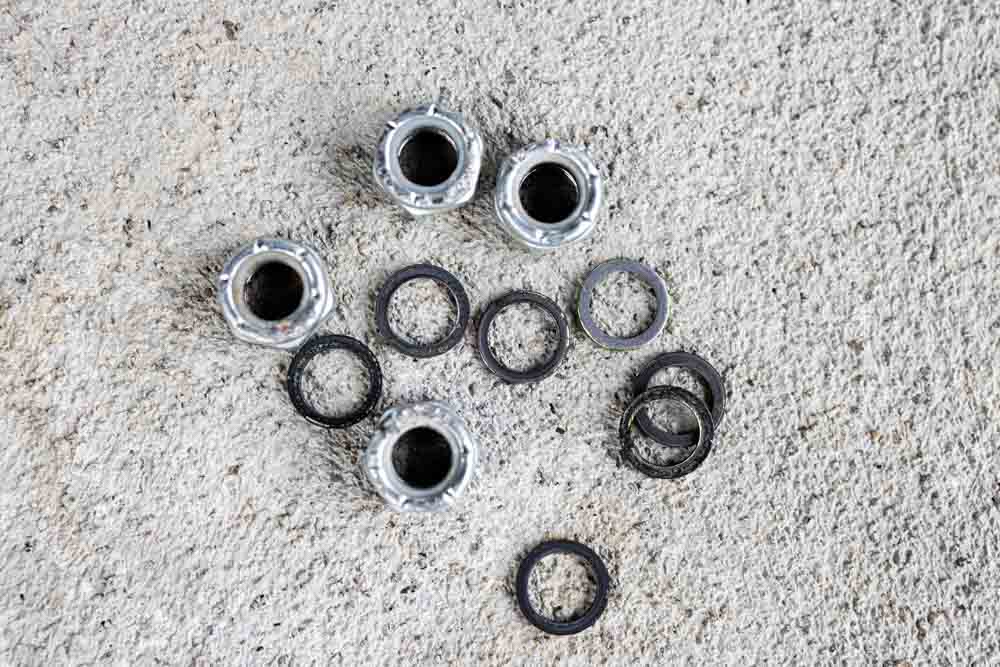
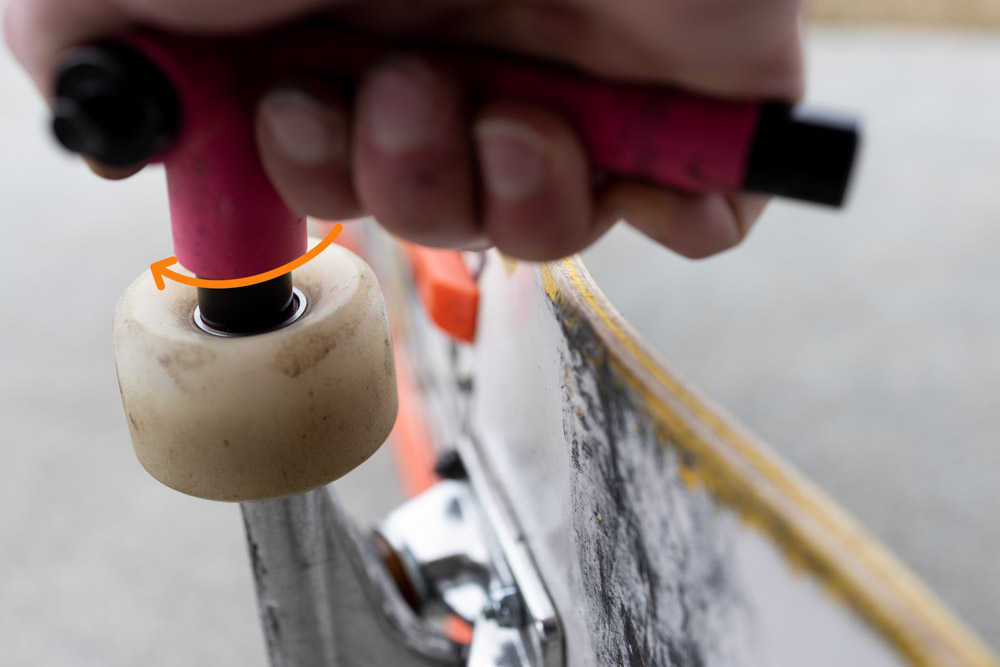
Start by using your skate tool or 1/2″ wrench to undo the axle nuts from all four axles on your skateboard. Make sure to place the axle nuts and speed washers in a safe place so you don’t lose them.
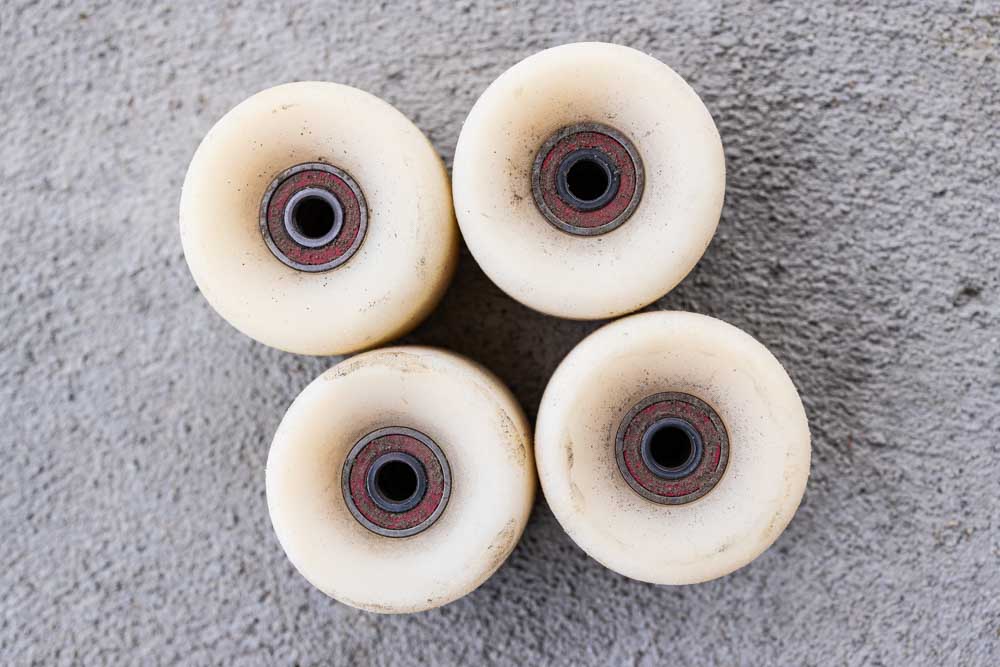
Next, lift all four wheels off of your trucks and place your skateboard on its side.
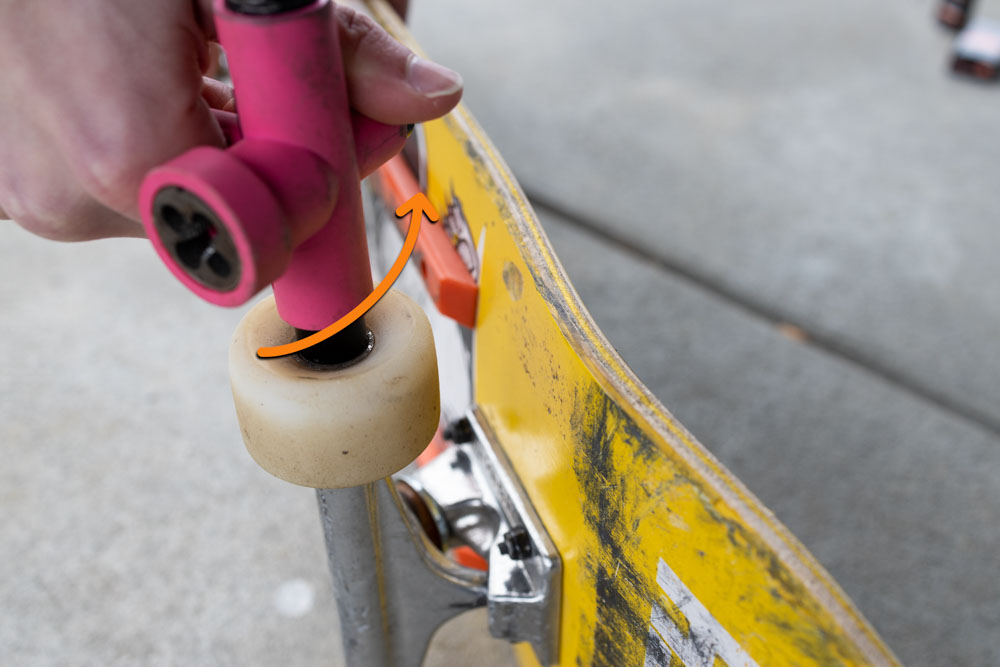
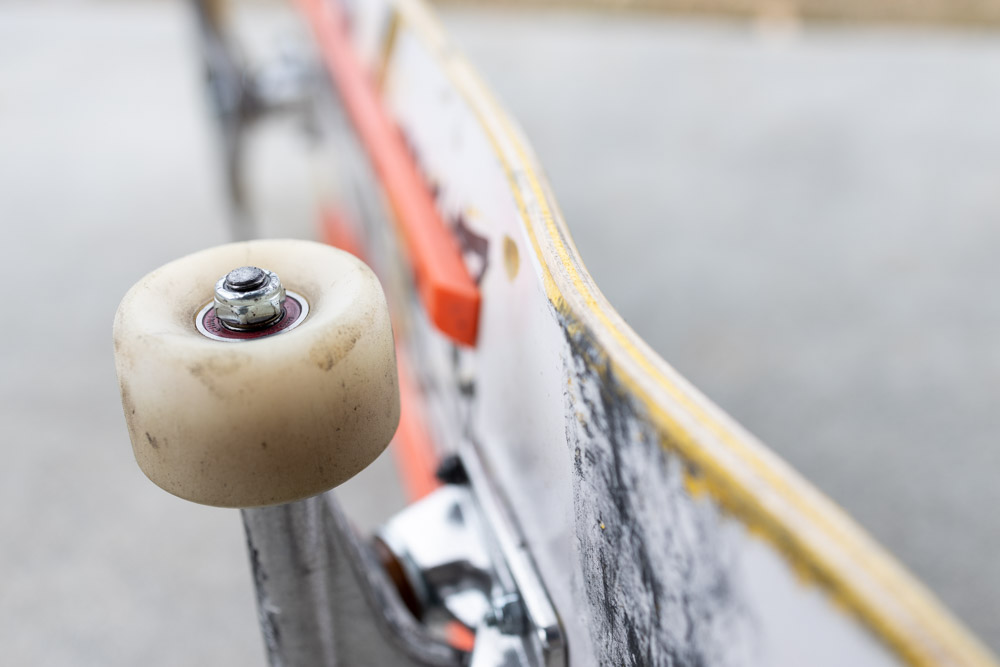
Step 2: Remove Your Bearings
Take a wheel and thread your truck’s axle just inside the inner bearing race. The goal is to have the axle only touch the one bearing, without going too far into your wheel.
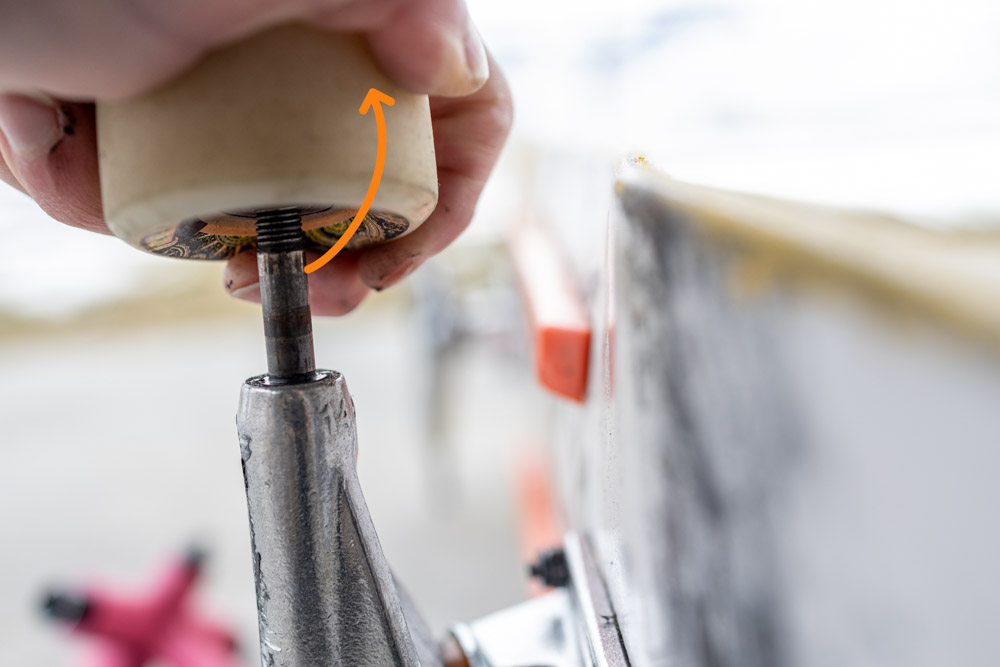
Once positioned, firmly hold your wheel and pry backward to lift the bearing out of your wheel.
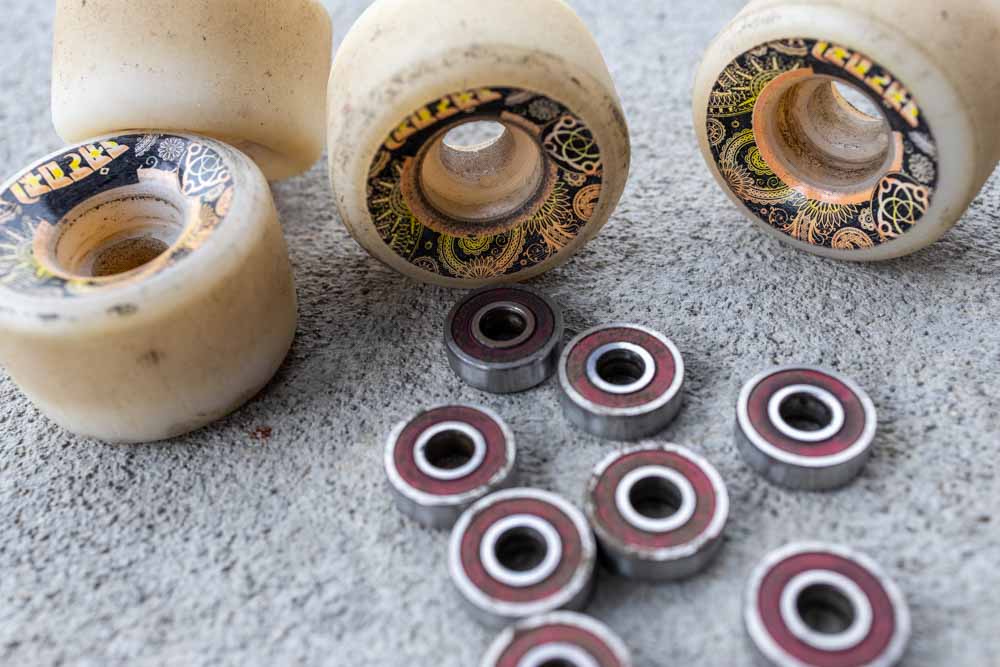
After removing the first bearing, flip the wheel around and repeat on the other side. Now both your bearings will be removed from your wheel.
Place your bearings somewhere safe and repeat these steps to remove the remaining bearings from your wheels.
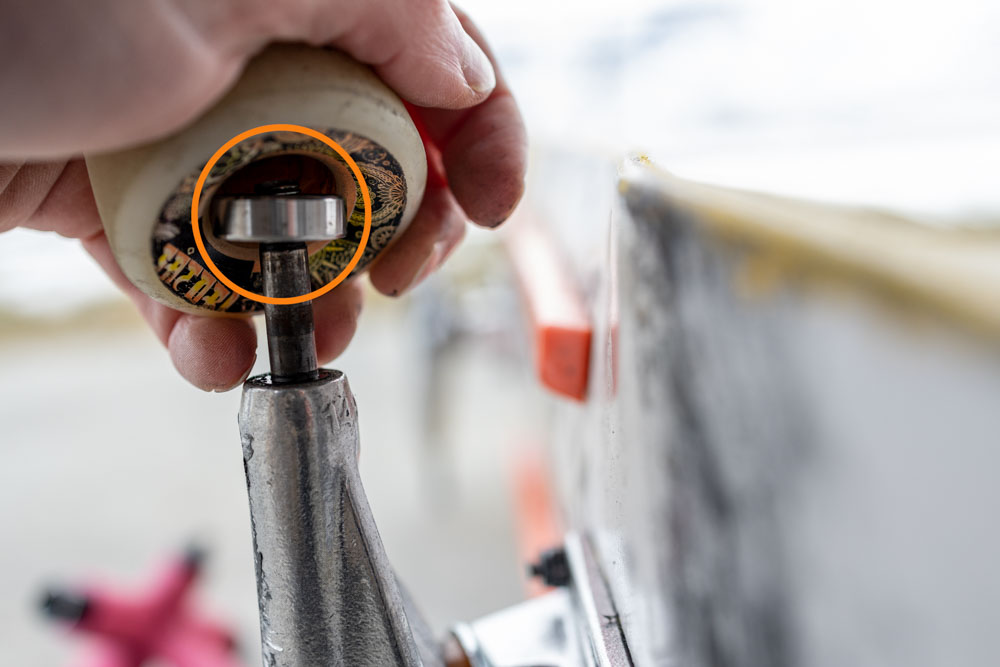
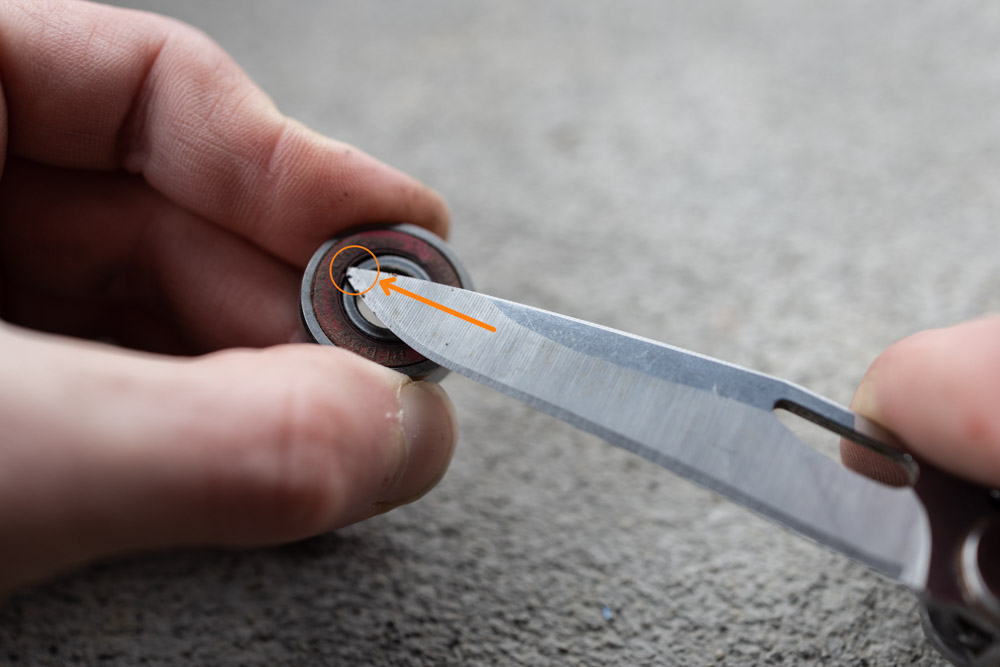
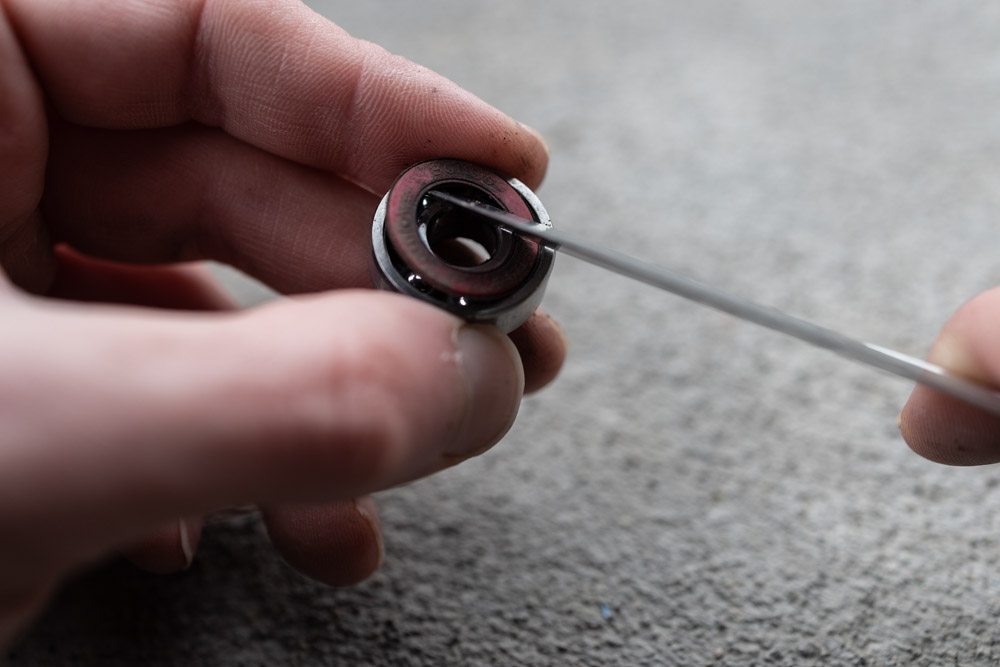
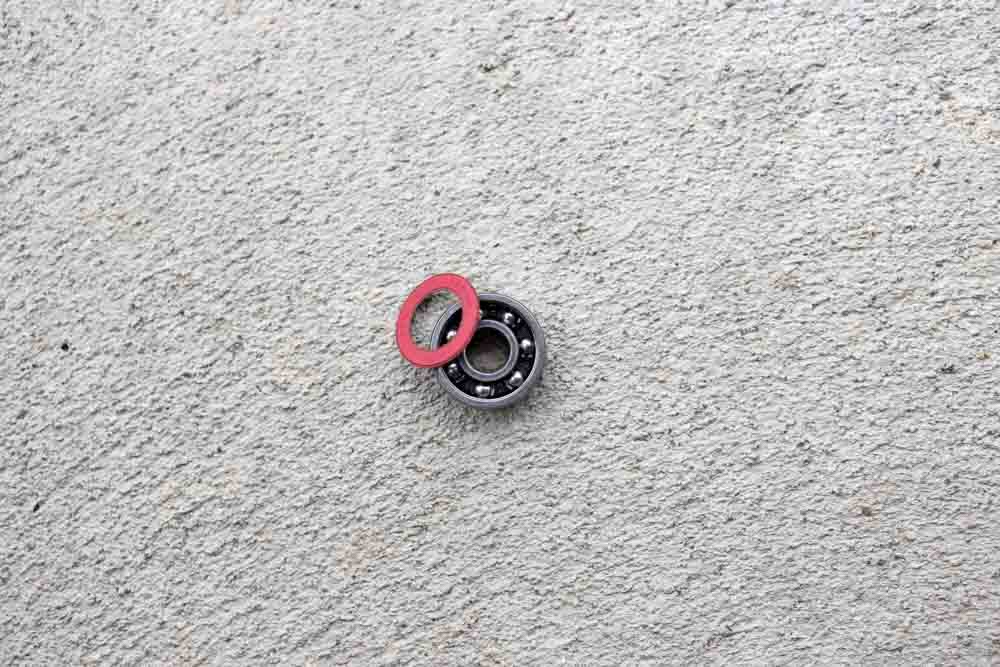
Step 3: Remove The Bearing Shield With A Thumbtack Or Blade
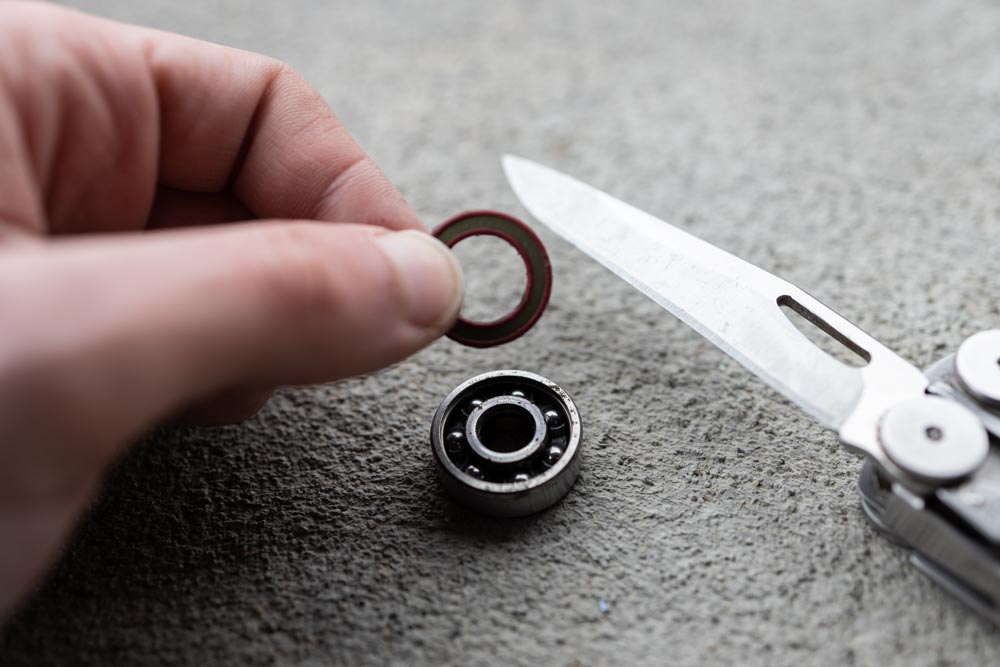
Place all of your bearings with the shield side facing up. The shield is the colored ring that covers the bearing balls inside so it’s easy to spot.
Next, wedge the blade or thumbtack against the inner edge of the shield and pry upwards. This will lift the rubber shield from your bearing to expose the bearing balls inside. Once all of the shields are removed from your bearings (one from each bearing), place them in a safe place with your axle nuts and speed washers.
If you have shieldless bearings such as the Bronson Raw Bearings, you can skip this step since there is no shield to remove. Likewise, if you have pressed in metal shield bearings, the shield cannot be removed so you’ll have to skip this step as well.
Step 4: Pour Cleaning Solution Into A Container
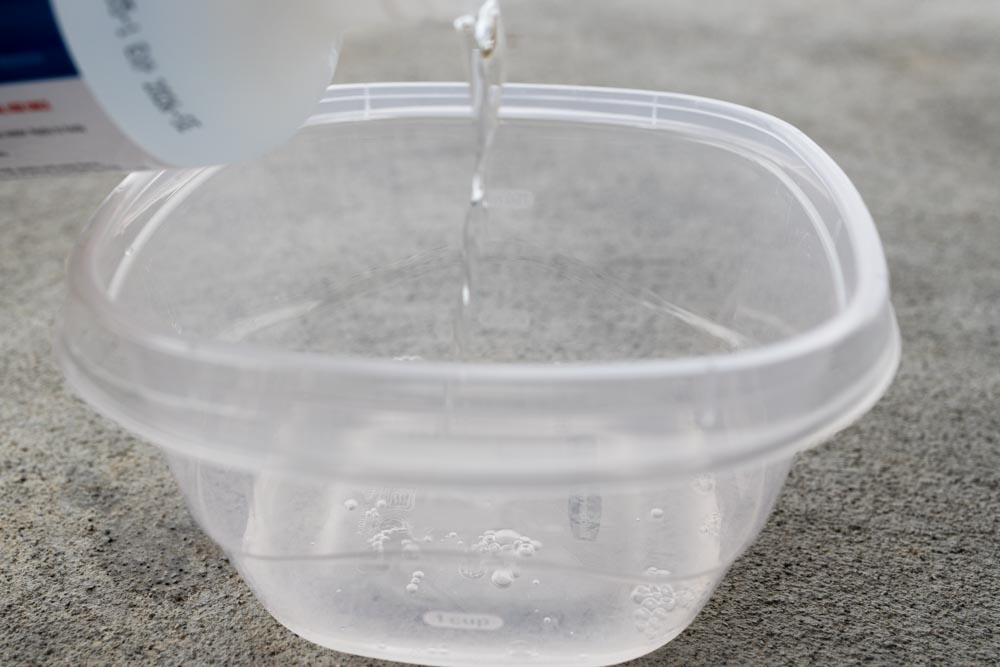
In this case, I am using isopropyl alcohol to clean my bearings, however, the same would apply if you were using something like Acetone. Aim to pour 1″ to 1 1/2″ inches of solution into your container so there’s enough to submerge all of your bearings. If you don’t know which container to use, I often use a Tupperware container but you could also use an empty yogurt container, or cut a 2L pop bottle in half.
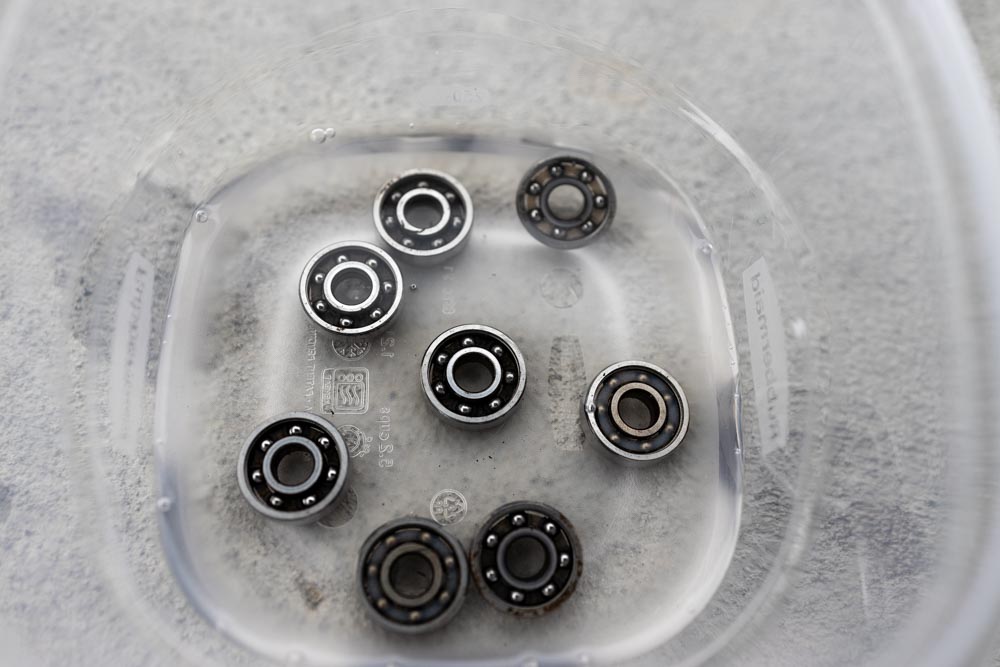
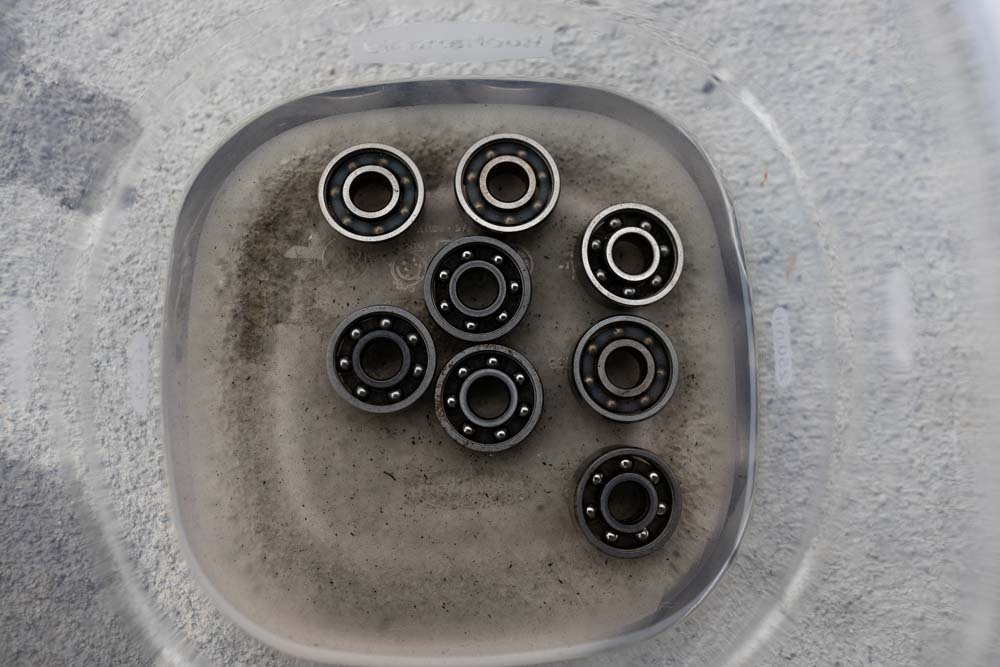
Step 5: Place Your Bearings In The Solution And Swish Them Around
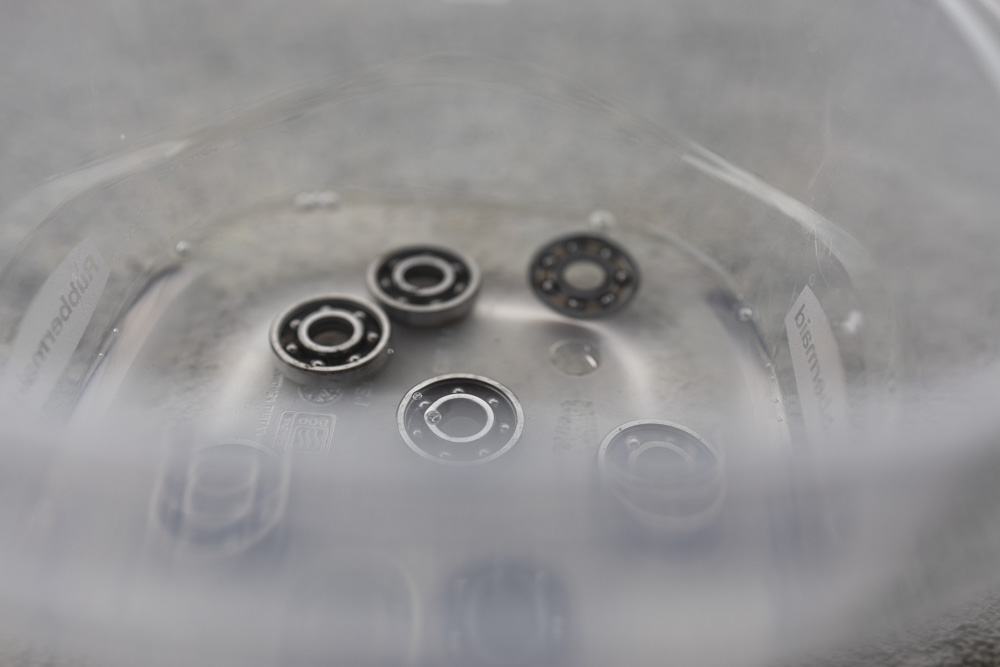
With your shieldless bearings, place them all into the cleaning solution and swirl them around in the container to release any dirt. It’s a good idea to use a plastic container for this since metal bearings swirling around a glass jar isn’t the best idea.
I like to give them a good swirl, let them sit, them swirl them again for good measure. Aim to let your bearings soak for a few minutes to ensure they get a deep clean.
Step 6: Remove The Bearings & Place Them On A Paper Towel To Dry
Using gloves can be a good idea when removing your bearings in case you have sensitive skin. Once removed, pat your bearings against the paper towel to dislodge any remaining dirt left over from the soak. If there is more visible grime in your bearings, taking an old toothbrush or dish cleaning brush can work wonders to really polish them clean.
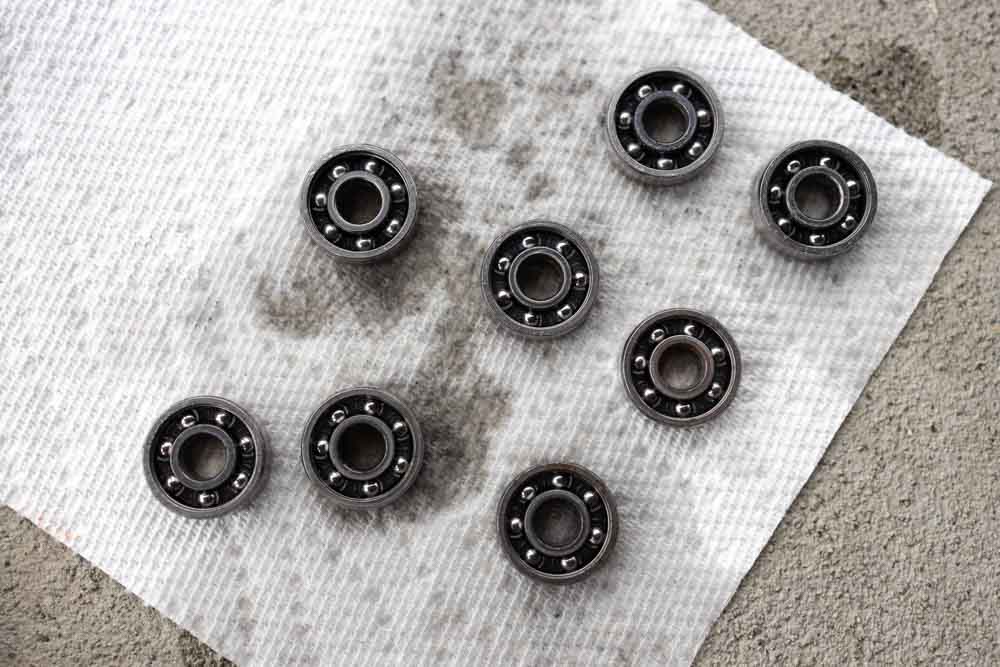
After you’ve patted all the bearings against the paper towel (with the ball bearings against the paper towel), leave your bearings to dry with the exposed ball bearings facing up. It’s important to make sure your bearings are fully dry before moving on to lubrication since the leftover cleaning solution can dilute the lubricant.
How To Lubricate Skateboard And Longboard Bearings
At this point, your bearings have been cleaned, but you need to lubricate them to ensure they don’t dry out or rust once you start to skate. There are a few different things you can lubricate skateboard bearings with but WD-40 is not one of them. Instead, opt for a synthetic lubricant such as Bones Speed Cream or Bronson High-Speed Ceramic Oil.
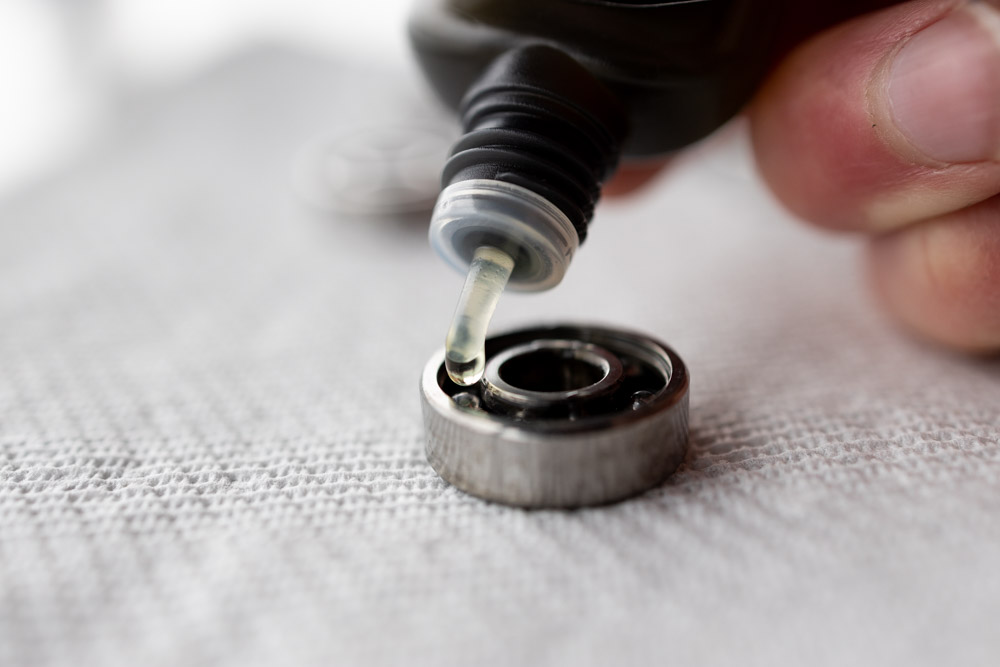
Step 7: Add 2-3 Drops Of Bearing Lubricant Into Each Bearing
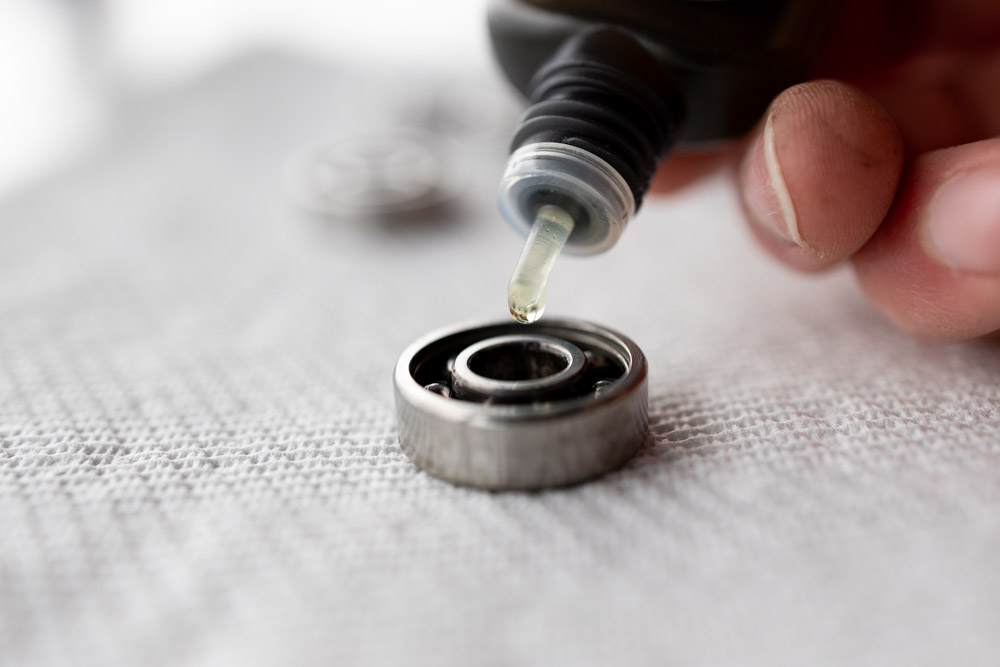
Continuing on from the steps of cleaning, it’s time to add a few drops of lubricant into each bearing. I am using Bronson High-Speed Ceramic Oil in this example, but the same applies if you’re using another lubricant. Add 2-3 drops evenly around your bearing to ensure it’s thoroughly lubricated.
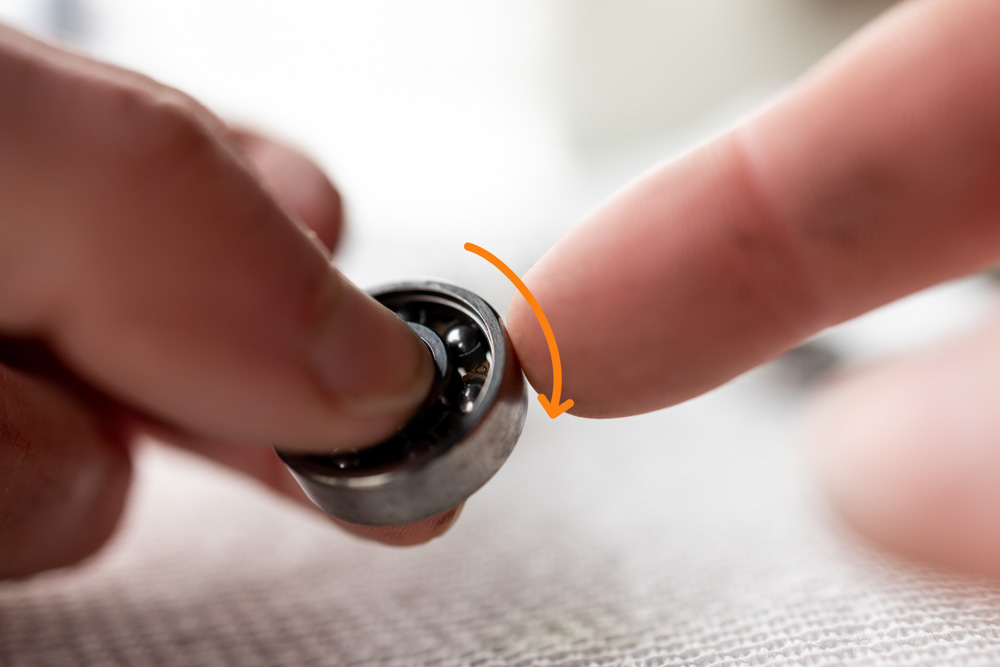
Next, pinch the inner bearing race between your fingers and gently rotate the bearing around a few times to spread out the lubricant. Now repeat with each of your bearings.
Step 8: Press Your Shield Back Into Place
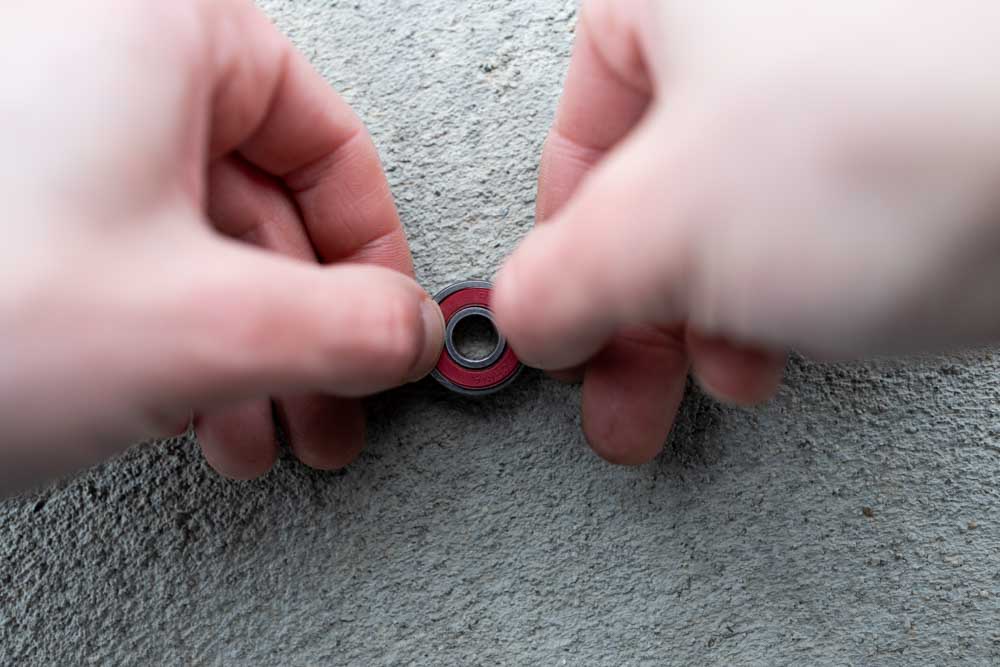
After each bearing has been lubricated, take your shield and press them into place with your fingers. There should be a little click or snap you feel when you know they’re seated properly. Once again, repeat this with each of your bearings until all the shields have been put back on.
Step 9: Put Your Bearings Back Into Your Wheels & Tighten The Wheels
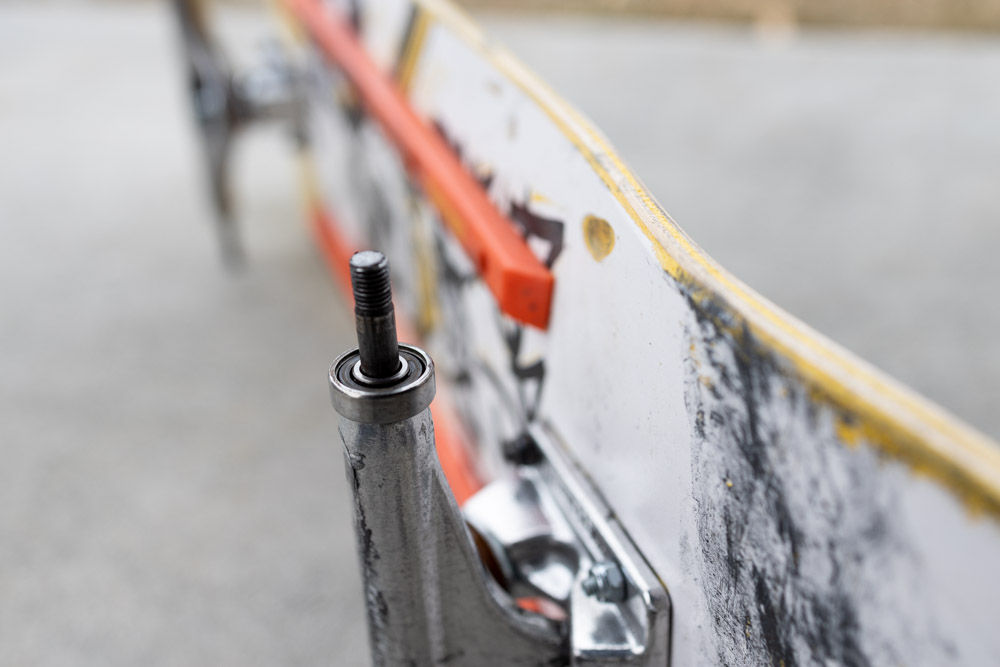
Take your bearing and thread it onto your axle with the shield facing towards the hanger of your truck.
Next, take your wheel and thread it through the axle and firmly push against the bearing to seat it in the bearing bore. Depending on the durometer of your wheel, this might be a lot harder than you expect. If are struggling to get the bearing to go all the way in your wheel, there’s an easy workaround.
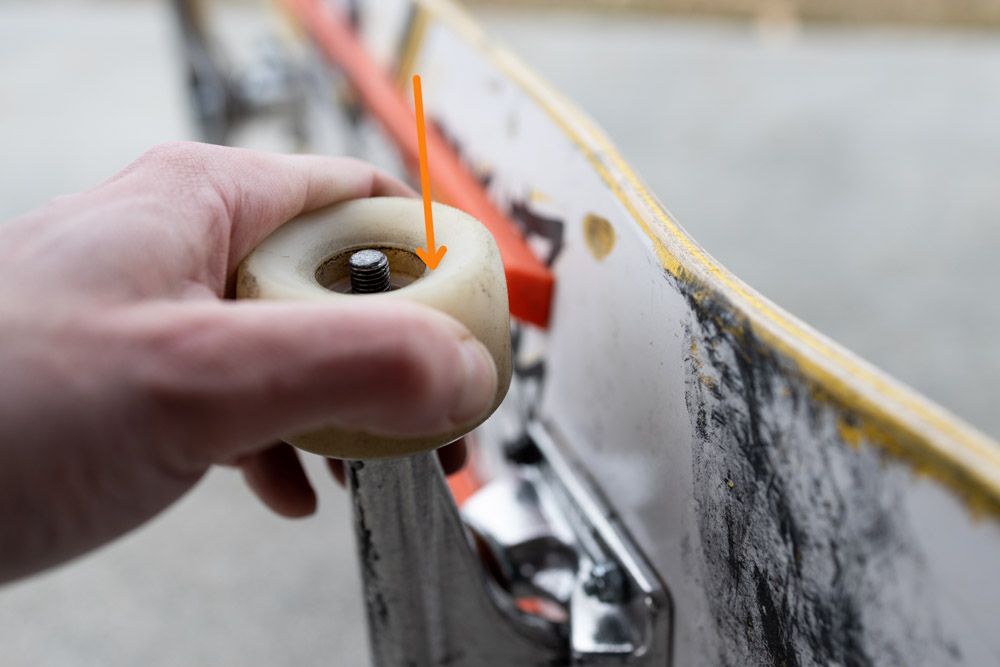
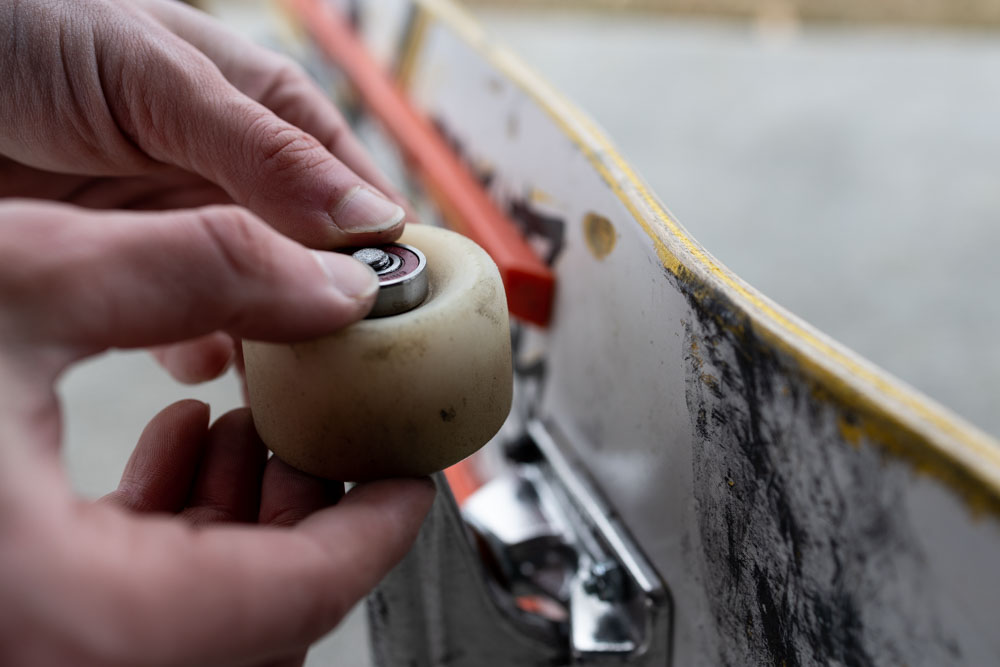
Before using this workaround, place your next bearing on the other side of your wheel with the shield facing towards you. Try to press the bearing into place with your thumbs until it’s snug in the wheel. If you are using bearing spacers, make sure to place those on your axle before pressing your second bearing into place.
Now take your axle nut and thread it onto your axle. With your skate tool or 1/2″ wrench, continue to tighten the axle nut to push the bearings further into the wheel. Once you notice the bearing isn’t going any further, it’s safe to say the bearing is properly seated in your wheel.
From there, loosen the axle nut by about a full turn or two to allow your wheel and bearings to spin freely. Now repeat with your remaining wheels and bearings.
If you aren’t sure how to get the perfect wheel tightness, this guide will help you out.
Step 10: Get Back To Skating!
With your bearings thoroughly cleaned and lubricated, you’ll immediately feel the difference. It’s almost like you’ve got a brand new set of bearings! It’s a feeling that always puts a smile on my face and makes the bit of effort to deep clean well worth it.
How Often Should You Clean Your Skateboard Bearings?
Doing a deep clean of your bearings isn’t always necessary, but is certainly a good idea after skating dusty spots, or going a long period of time without doing so. Compared to only lubricating your bearings, doing a deep clean will offer longer-lasting effects.
It’s a good idea to do a deep clean of your bearings every 1-2 months if you are skating regularly. Even if you primarily skate at the skatepark, there’s a ton of dust and dirt that gets picked up in your wheels. Over time, this negatively impacts how smoothly the bearings can spin and slows down your skateboard. By keeping up with a regular bearing cleaning schedule you get a lot better performance out of any bearing.
Not to mention it helps improve their lifespan!
How Often Should You Lubricate Your Skateboard Bearings?
If you don’t have time for a deep clean but your bearings are starting to slow down or bind up, adding lubricant is a good temporary solution. Rather than taking your bearings out, you can take your wheels off your skateboard and remove the shields while the bearings are still in your wheel. From there you can add a few drops of lubricant, give your wheel a spin, put your shields back on, and see instant improvements.
The frequency you lubricate depends on how your bearings are acting. If they seem dry, rattly, or aren’t rolling smoothly, it’s safe to say that adding some lubricant is a good idea. However, if you are constantly lubricating your bearings after every session, you’ll see limited improvements.
I tend to only lubricate my bearings when I do a deep clean but will add a few drops on occasion when they seem to be dry or making weird noises.
So with these 10 steps, you now know how to easily clean and lubricate your skateboard or longboard bearings to help you roll smoother, faster, and longer. If speed is your number one priority and you still aren’t going as fast as you hoped with clean bearings, check out this guide to help your board go faster!


