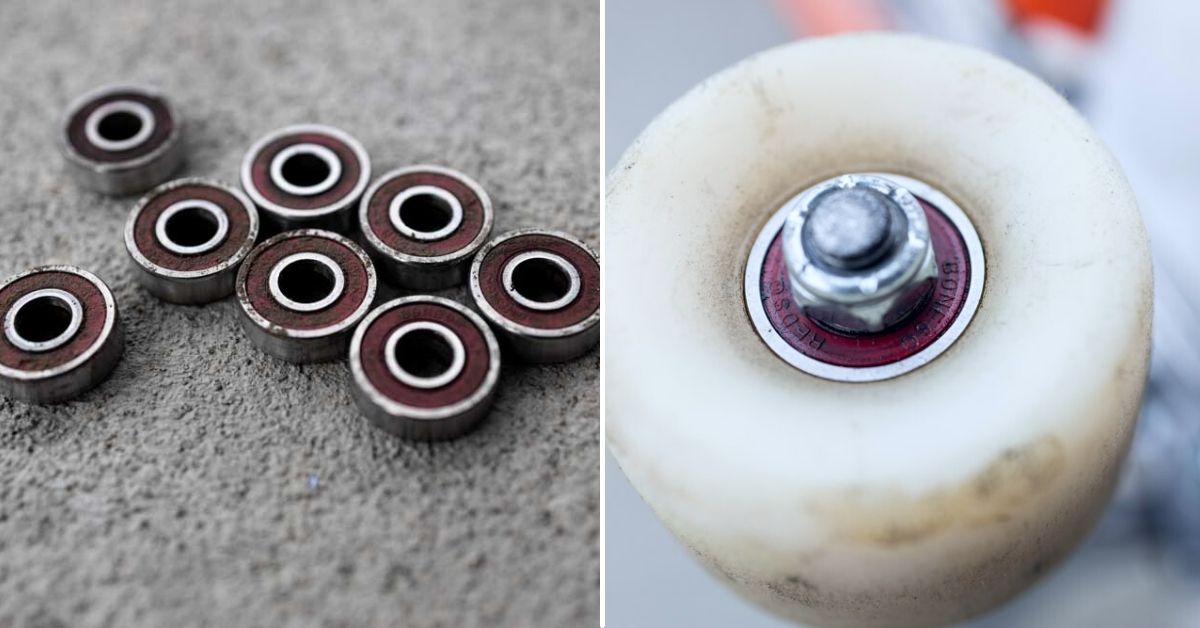
Whether you need to clean your skateboard bearings or are ready to buy a replacement set, removing the bearings from your wheels is the first step in the process. Luckily, removing your bearings is easy, even if you don’t have a skate tool since you can use your truck axles to do the “heavy lifting.”
To remove skateboard bearings from a wheel, follow these steps:
- Undo the axle nut with a 1/2″ socket or skate tool.
- Lift the wheel until the tip of the axle sits inside of the bottom bearing.
- Firmly hold the wheel and pry backwards to remove the bearing.
- Flip the wheel and place the tip of the axle inside the second bearing.
- Once again, pry backwards to remove the second bearing.
- Repeat this process to remove all eight bearings from the wheels.
Now if you’re more of a visual learner like I am, don’t worry, I’ll break down this entire process more in-depth. I’ll also share how to reinstall your bearings later in this post so you can get back to skating in no time! Let’s get started.
How To Remove Skateboard Bearings (Step By Step)
Before you get started, there are a few tools you’re going to need. A skate tool is the most convenient option for removing your wheels, but you can use the following to undo your axle nuts instead:
- A 1/2″ wrench
- A 1/2″ Socket
Besides that, everything else can be done with the help of your axles!
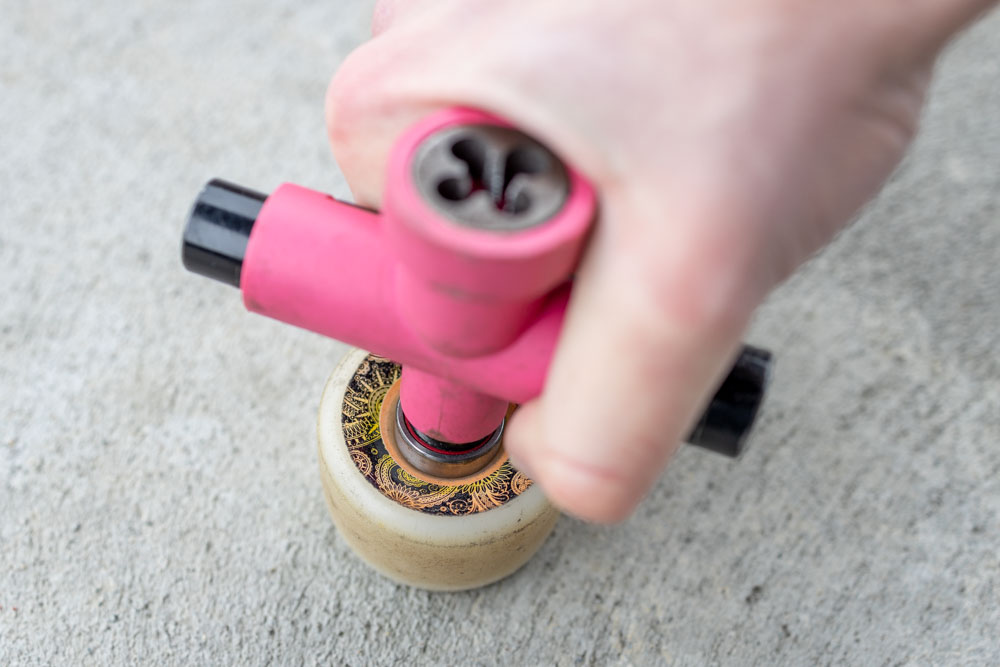
Step 1: Undo The Axle Nuts
Placing your skate tool of 1/2″ socket over the axle nut, rotate counter-clockwise to undo the bolt. You may find that the tip of the axle is difficult to unthread if it’s been worn down from hitting the ground. Having a skate tool with an axle rethreader can be super valuable if that’s the case!
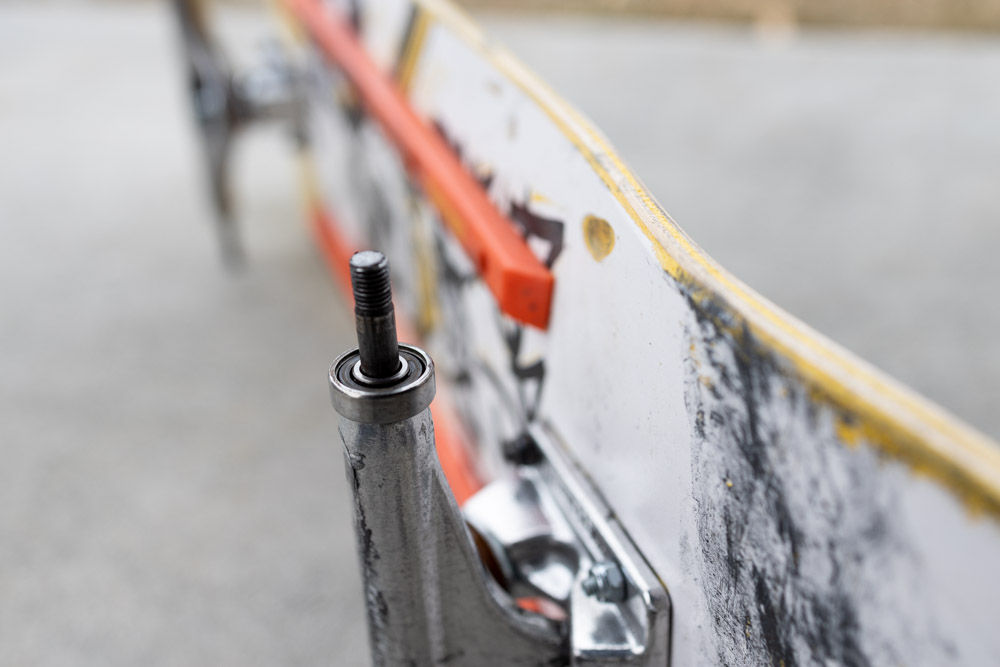
Step 2: Remove The Wheels From Your Skateboard
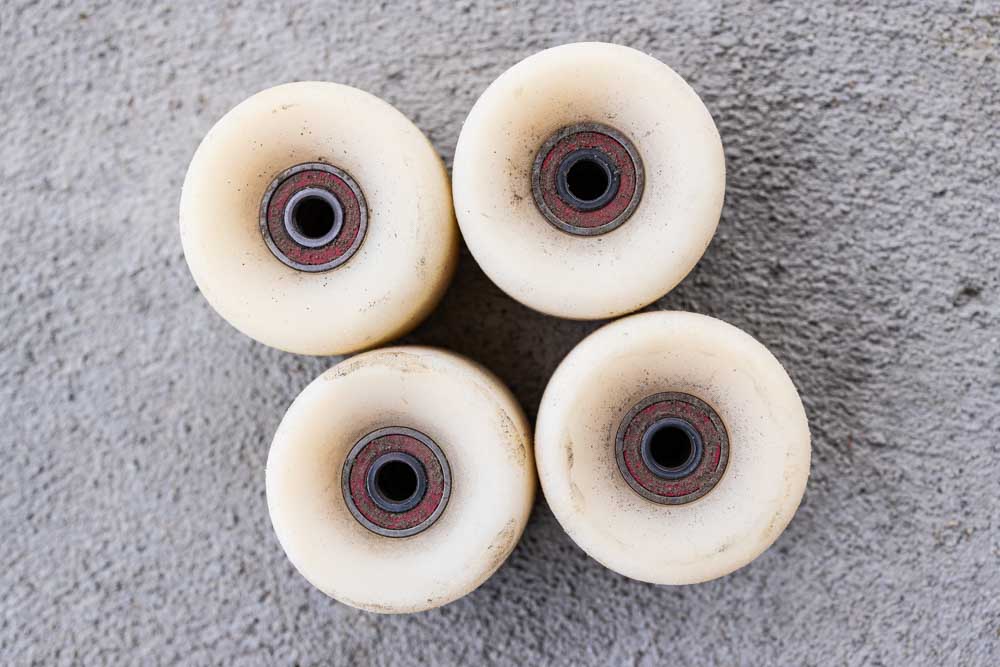
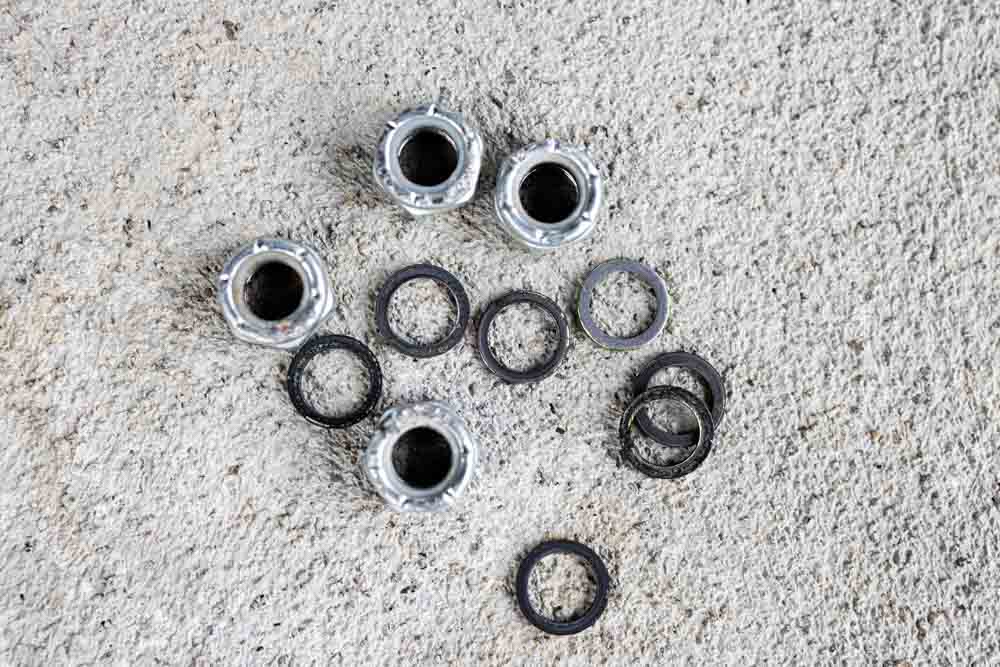
Once all the axle nuts are removed, place the nuts in a safe place so you don’t lose them. Now remove all of the wheels off of the trucks and place the skateboard on its side so you have easy access to one of your axles.
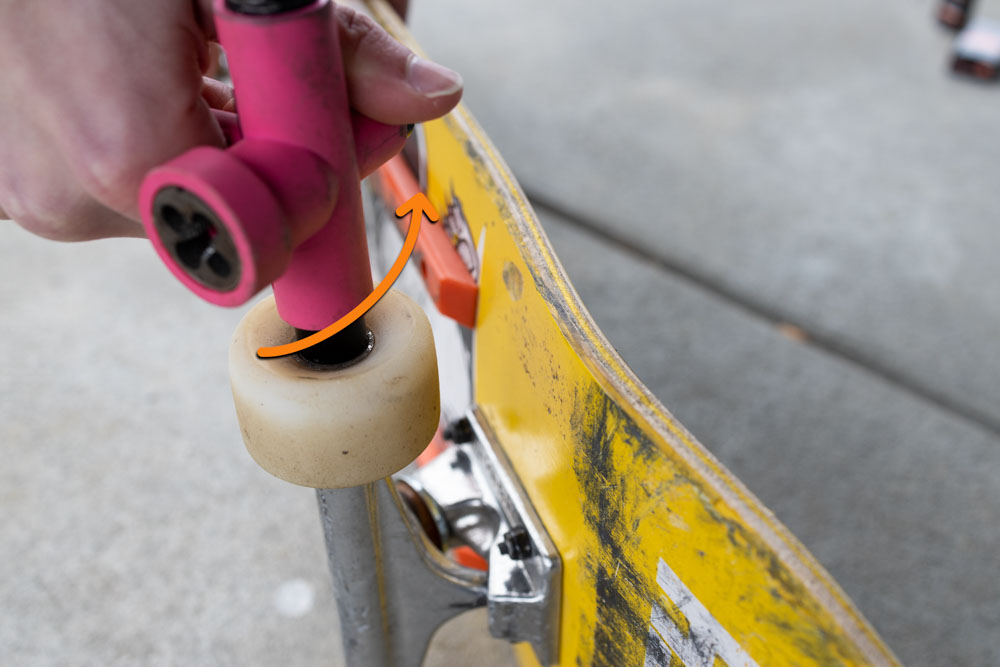
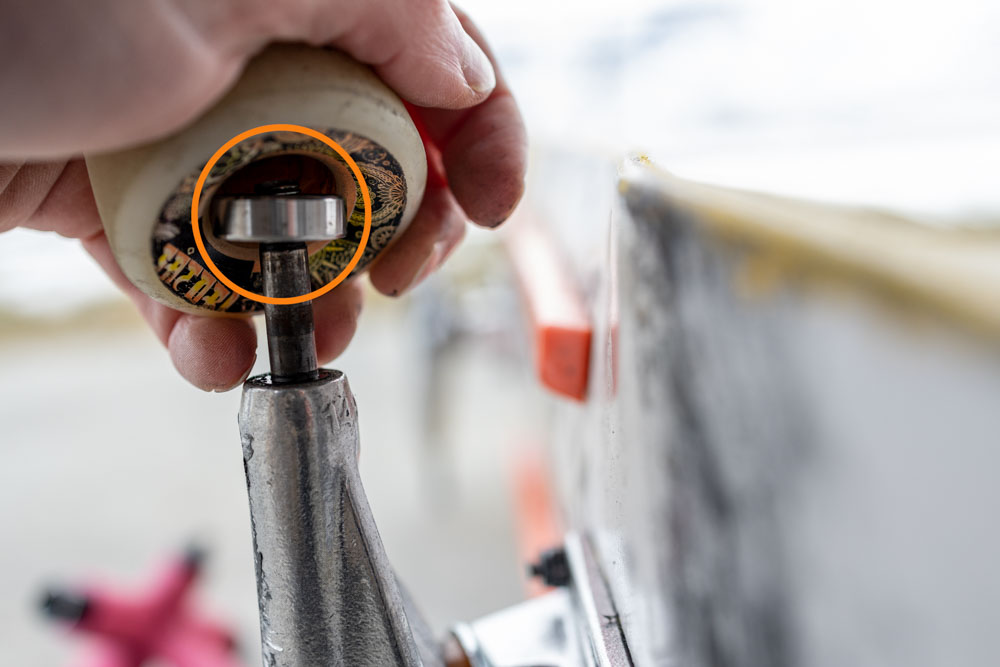
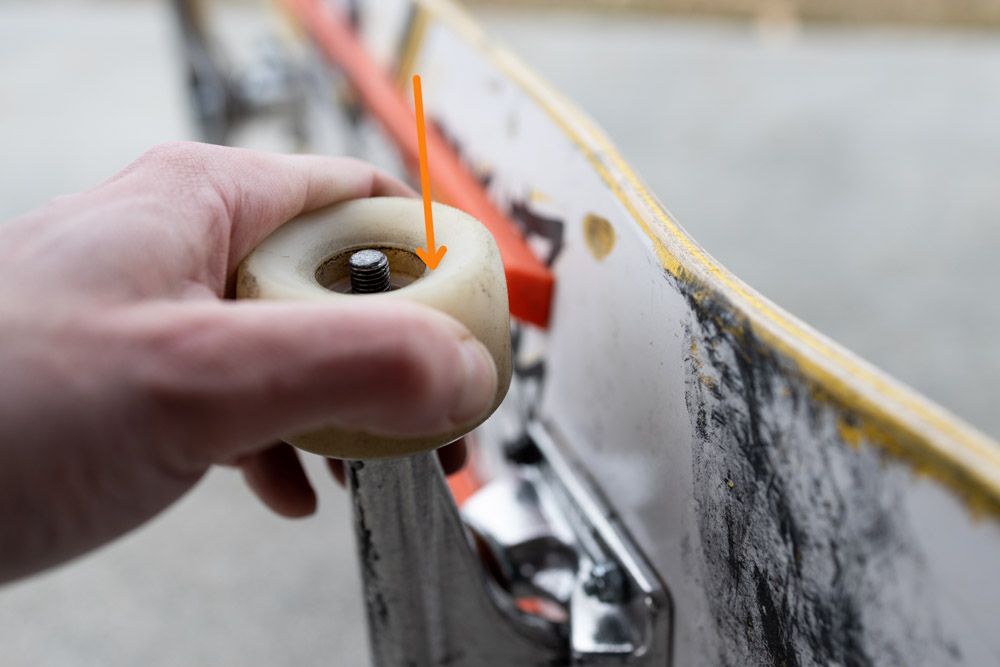
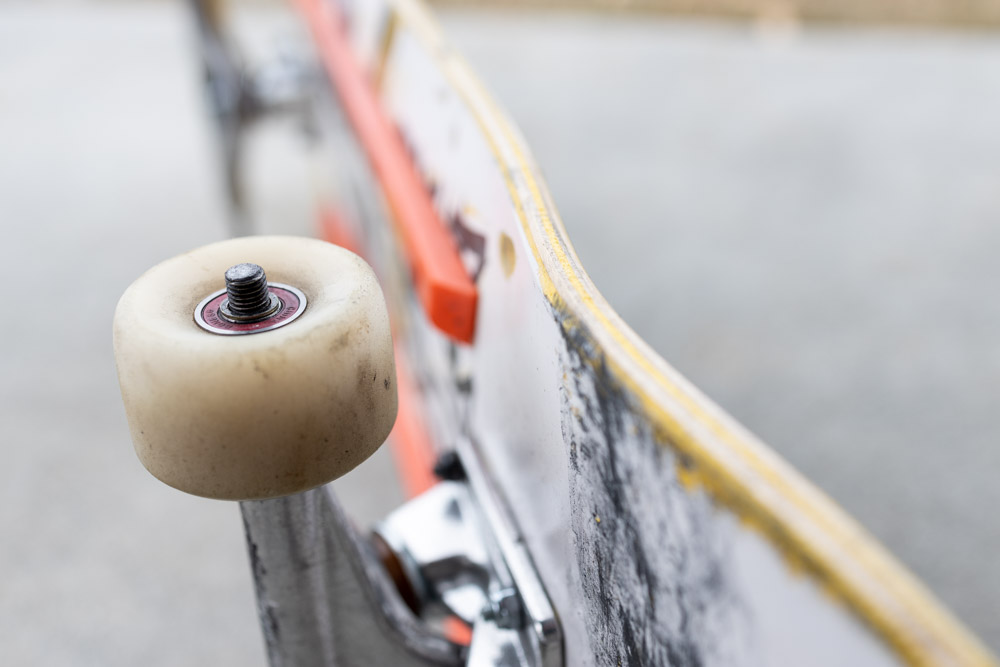
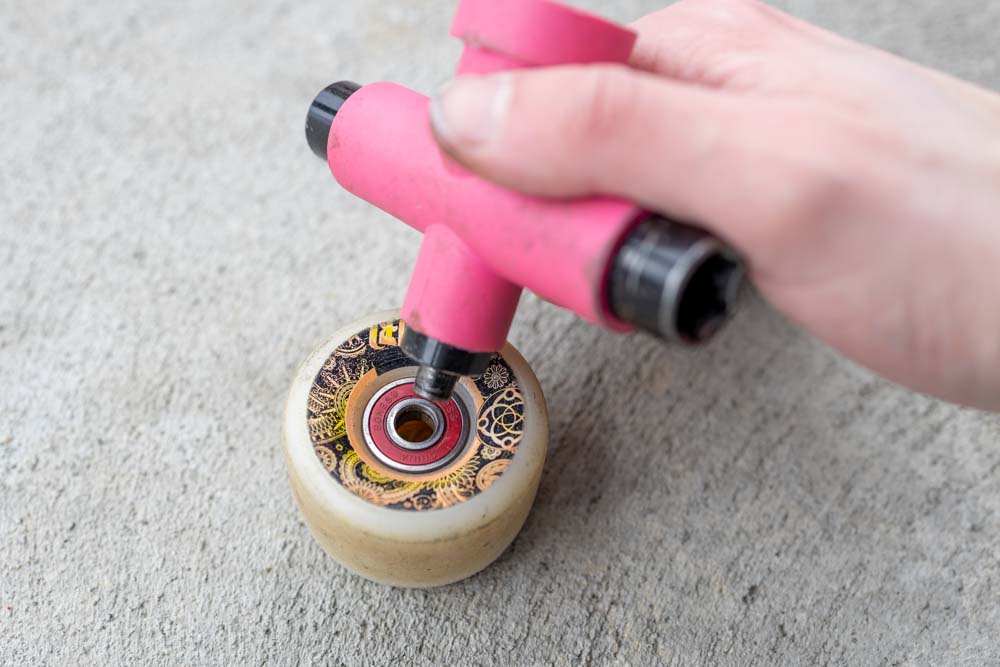
Step 3: Place The Inner Bearing Race Onto The Tip Of The Axle
Starting with any wheel, align the tip of the axle just inside of your bearing. The goal is to have the axle make contact with the one bearings, without going through your wheel or touching the second bearing.
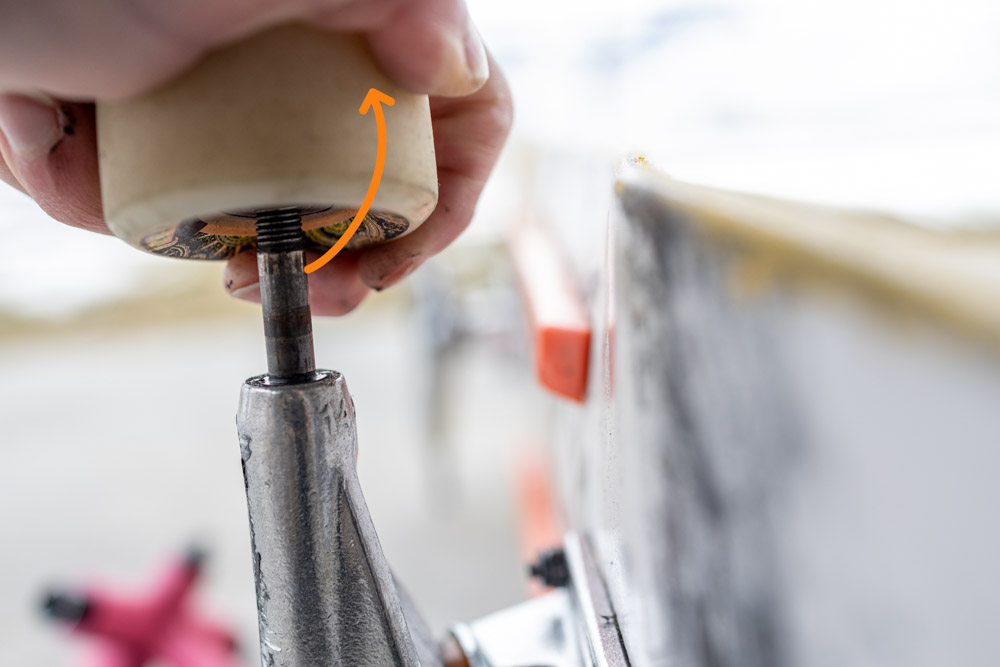
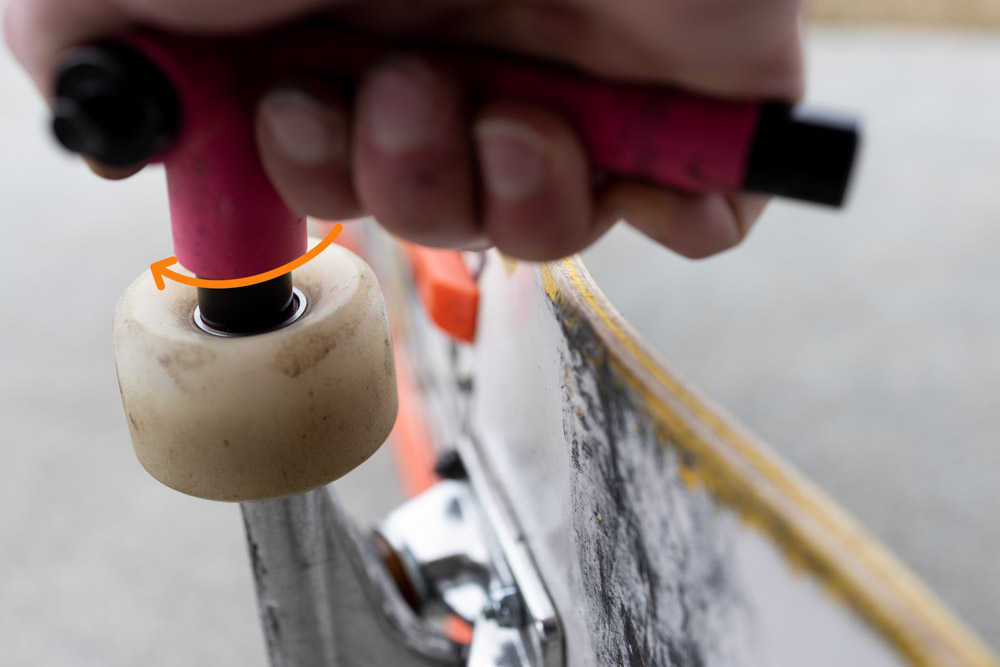
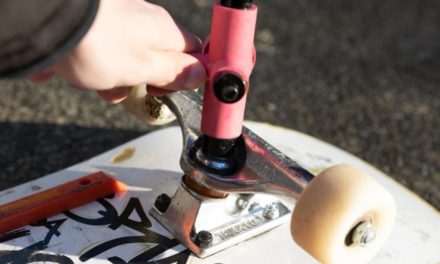
Step 4: Pry The Wheel Backward To Remove The Bearing
With the axle aligned to your bearing, firmly hold the wheel and pry backward to lift the bearing from the wheel. With the help of the axle, your bearing will stay on the axle while your wheel pulls away.
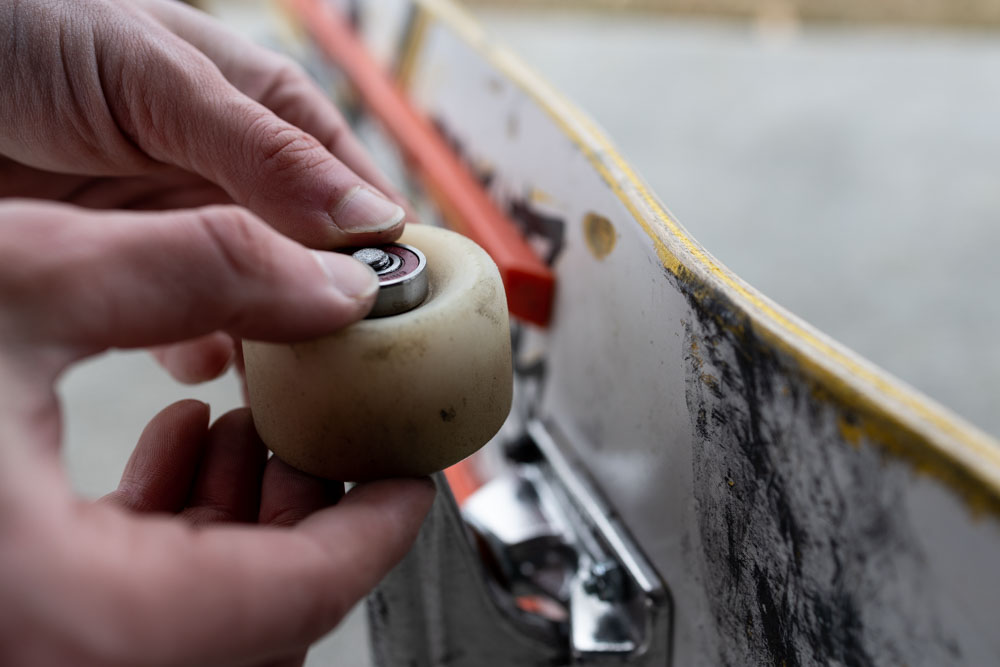
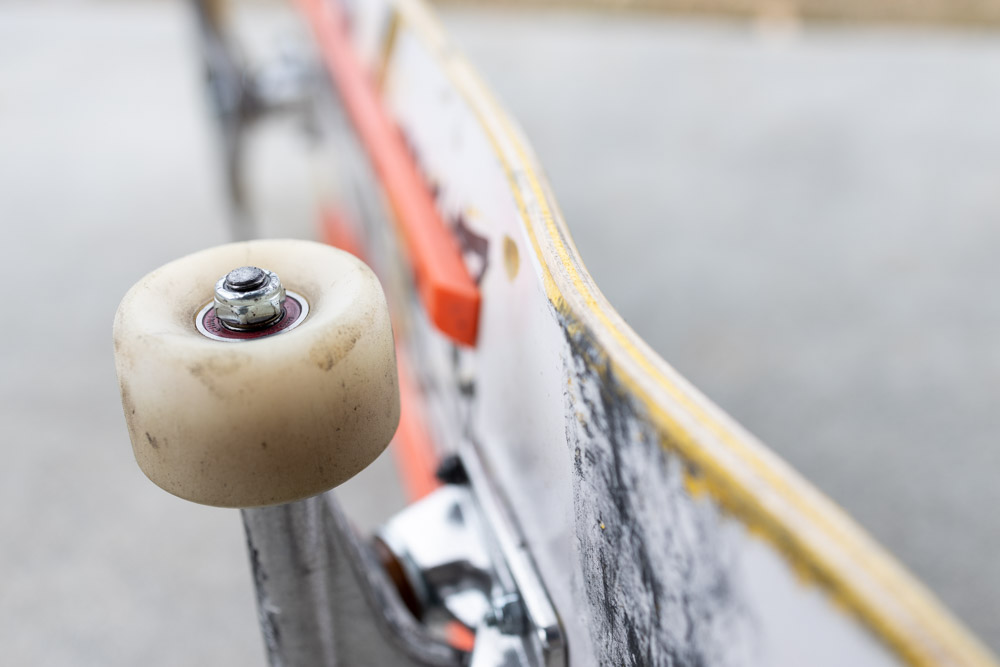
Step 5: Flip Around The Wheel And Repeat With The Second Bearing
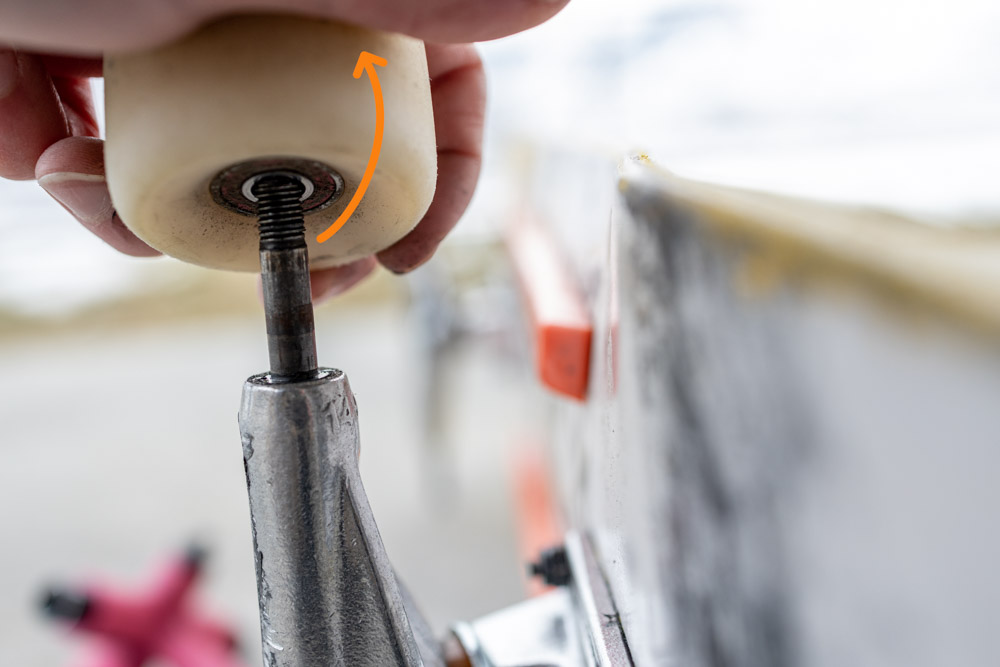
Now that the first bearing is removed from your wheel, flip the wheel around and place the tip of the axle just inside of the next bearing. Once again, pry backward to lift the bearing from the wheel to remove it.
Step 6: Repeat With All Bearings
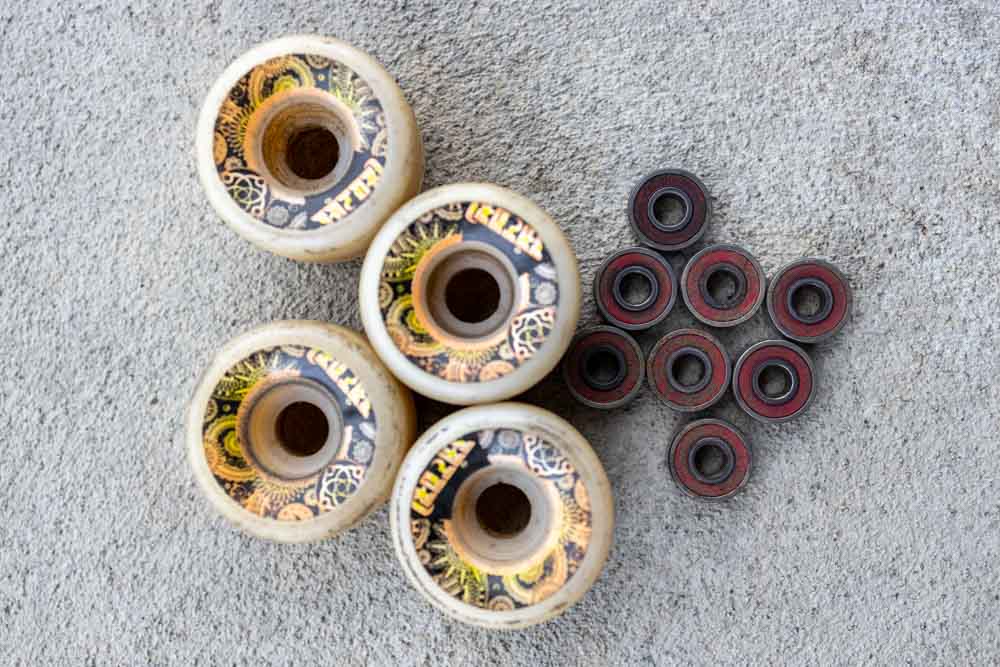
With your skateboard bearings removed from the first wheel, grab your next wheel and repeat the process. Continue to do this until all eight bearings are removed from your wheels (two from each wheel).
How To Install Skateboard Bearings (Step By Step)
After you’ve removed your bearings, you finally had time to clean them, or perhaps you’re installing a fresh set of bearings into your wheels. Regardless, the process remains the exact same. Just like before, a skate tool (especially ones with a bearing press) makes life easiest for putting your wheels back on your skateboard. However, you can also use the following household items once again:
- A 1/2″ Socket
- A 1/2″ Wrench
If you have just cleaned your bearings, make sure the shields have been reattached to the bearing before you put them into the wheel! For those who are installing a new set of bearings, you don’t need to worry about this.
Although the steps below are applicable to everyone, I’ll touch on how you can use a bearing press on a skate tool later on for added simplicity.
For now, let’s start with the “best for everyone” method.
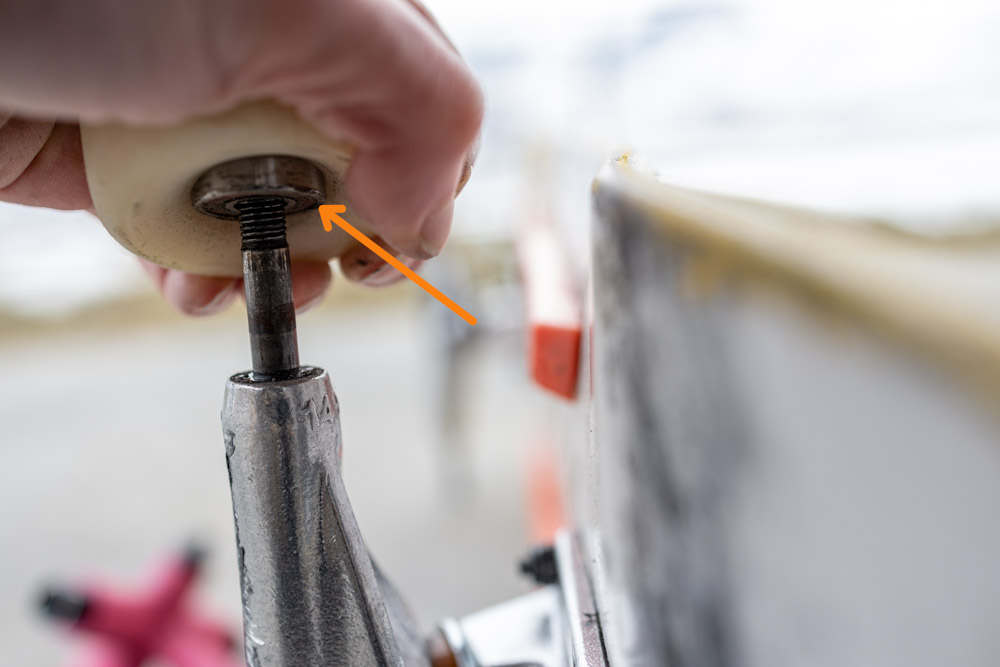
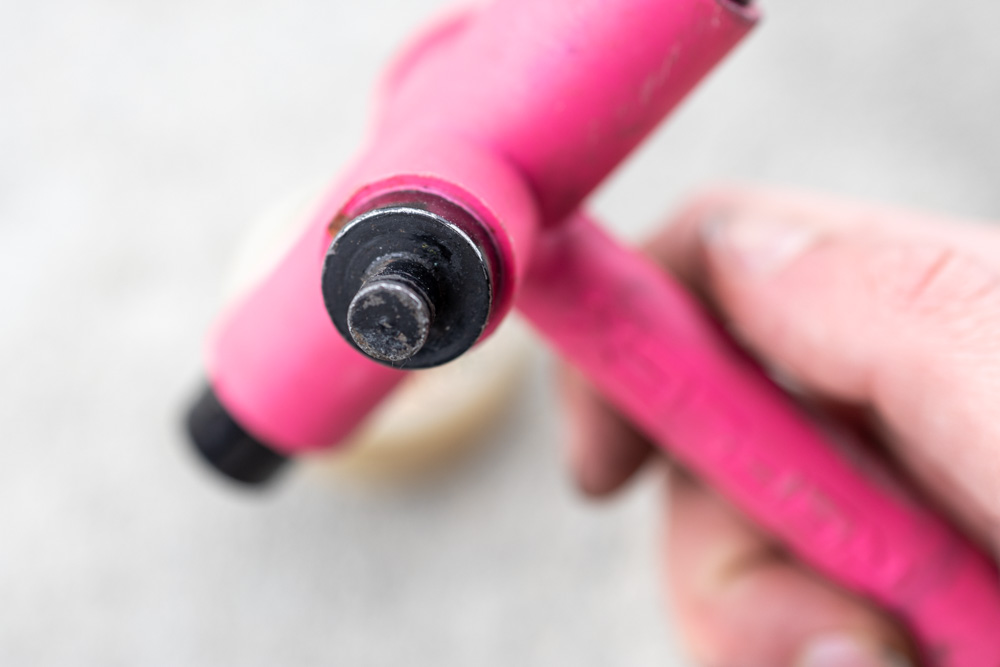
Step 1: Place The Bearing On The Axle With The Shield Towards The Hanger
Take your first bearing and throw it on your axle so it’s resting against the hanger. Make sure that the bearing shield is facing towards your hanger so that you don’t put the bearing backward in your wheel.
Step 2: Thread Your Wheel Through The Axle And Press Firmly Into The Bearing
Grab your bearingless wheel and thread the axle through the middle of the wheel. Lining up the bearing with the bearing bore of your wheel, press it firmly to snug the bearing into place. Once snug, place the heel of your hands on either side of the wheel and press firmly to push the bearing further into your wheel.
Step 3: Place The Second Bearing In The Other Side Of The Wheel
With your first bearing placed in your wheel as best as you can, take your next bearing, thread it through the axle, and place it in your wheel. Pinching the wheel and using your thumbs to press the bearing into place, push firmly until the bearing won’t go in any further.
Keep in mind that if you are using bearing spacers (which I am not in this example), thread the spacers onto the axle to place them in your wheel before you add the second bearing!
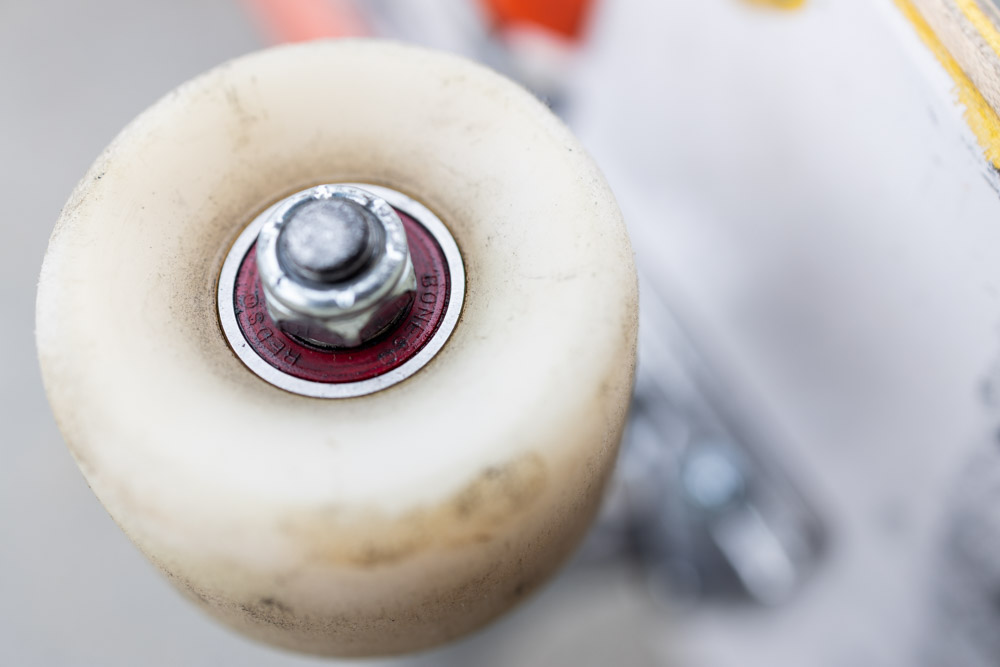
Step 4: Tighten The Axle Nut To Seat Your Bearings
Depending on the durometer of your wheels, trying to press bearings into the wheel with your hand can feel like trying to move a mountain. Instead of using every ounce of your strength to seat these suckers properly, let the axle nut do the work.
Once both of your bearings are snug and placed in the right orientation (shields out), add your outer speed washer to the axle thread the axle nut back onto your trucks. Begin to tighten the nut using a skate tool of a 1/2″ socket until the bearings are fully seated inside the wheel.
This is a technique I’ve used (and many other skaters I know use) and have never had an issue with breaking a bearing from over-tightening. Just keep an eye out for when it seems the bearing is not moving any further into your wheel.
When that happens, it’s a safe bet that the bearing is properly seated and there’s no need to continue tightening. At that point, loosen off the axle nut by one or two full turns (depending on how tight you went), and your wheel should be able to spin freely!
If you aren’t sure exactly how tight to make your wheels, I wrote a guide on getting the perfect wheel tightness here.
Step 5: Repeat With All Other Wheels
With your bearings successfully installed in your first wheel, repeat the same process with all four wheels. With the method I mentioned in step 4, using the axle nut to seat your bearings, all your wheels will be attached, tightened, and ready to roll the moment you’re done the bearing install!
How To Install Bearings With A Bearing Press
If you have a skate tool that has a bearing press, it’s a great alternate option to use rather than pressing into the hanger of your trucks. With a bearing press, you can install your bearings by placing your wheel flat on the ground, then firmly pressing the bearing into the wheel with your fingers.

Once it feels snug, place the bearing press on your bearing and press down with both hands on your skate tool. Since you can get your whole bodyweight over the bearing, it tends to seat all the way without too much struggle.
After the first bearing is seated, flip the wheel around and place the second bearing in your wheel using the same steps. Once both bearings are placed, thread the wheel onto your axle, tighten the axle nut, and repeat for all your other wheels!

This method is an excellent alternative if you’re worried about over-tightening your bearings but requires you to have a skate tool with a bearing press, something that most skate tools don’t have.
So with these new tactics, you know how to easily remove skateboarding bearings from your wheels without a skate tool, plus an easy trick to install your bearings with or without a bearing press! To help you learn more about your skateboard bearings and make sure they run optimally, check out my guide to skateboard bearings!
Happy Shredding!
Brendan 🙂


